Your quiet gnome kingdom functions with the aid of a single crystal. One day, your tranquil life within the kingdom is interrupted by an evil witch. She has stolen the crystal! Your kingdom has crumbled and someone needs to go rescue the crystal to restore order. You must travel over several lands to rescue the precious crystal. Join the journey in A Gnome’s Home – The Great Crystal Crusade. In this time management game, you will be traveling through 65 levels to capture the crystal. In this comprehensive A Gnomes Home – The Great Crystal Crusade walkthrough, you will learn to use your bonuses and watch your time to bring order to the gnome kingdom.
Contents
General Tips & Tricks
The premise of A Gnome’s Home – The Great Crystal Crusade is simple. You must clear your paths in order to move on. In order to do this, you need a few tips in order to determine the right way to do this. When you begin the game, you will be directed to add your name in order to save your game. After doing this, you will select your difficulty level.
Level of Difficulty
When you are ready to play, you will be directed to pick your level of difficulty: hardcore, advanced, or casual. Hardcore means you have to pass the level with a gold star. If you do not, you will have to replay the level before moving on. Next, you have the advanced level. While still being timed, you can move on to the next level even if you get a silver or bronze star. Finally there is casual mode. There is no time limit and once you finish the level, you get a gold star.
Regular Tasks
In order to complete each level, you have three tasks you must do. First workers must finish their present tasks before moving on. The workers do not have to return to their homes before moving on to the next task. In order to complete the tasks, your workers will need energy. You can find energy in the berry bushes. Finally, all the materials must be picked up. You just move your cursor over the items and they will go into your collection.
Bonuses
You will also be allowed to use bonuses as you move on in the game. The five bonuses will help you efficiently complete the tasks. First there are two bonuses that aid workers: boots and hammer. These bonuses will speed up your workers in their tasks and their productions of goods. Second, you will find whirlwind. This bonus will get your supplies automatically so you do not have to move your cursor over them. Next, you have a gear. This will speed up your factories. Finally there is a clock. It will freeze the timer if you are playing on the advanced or hardcore difficulty settings.
A Gnome’s Home – The Great Crystal Crusade Walkthrough
The Beginning (Levels 1-5)
Once you click play, you are given the background of the crystal being stolen and what occurred after. Once the mini video is done, you are given the option of playing in the tutorial mode. If you decided to skip the tutorial, you will still have to play the levels. When it opens on the first level, you will be able to see the timer and tasks on the upper left hand side. If you need to exit out of the level, the main menu will be on the bottom left side. All your materials will be on the upper right hand side.
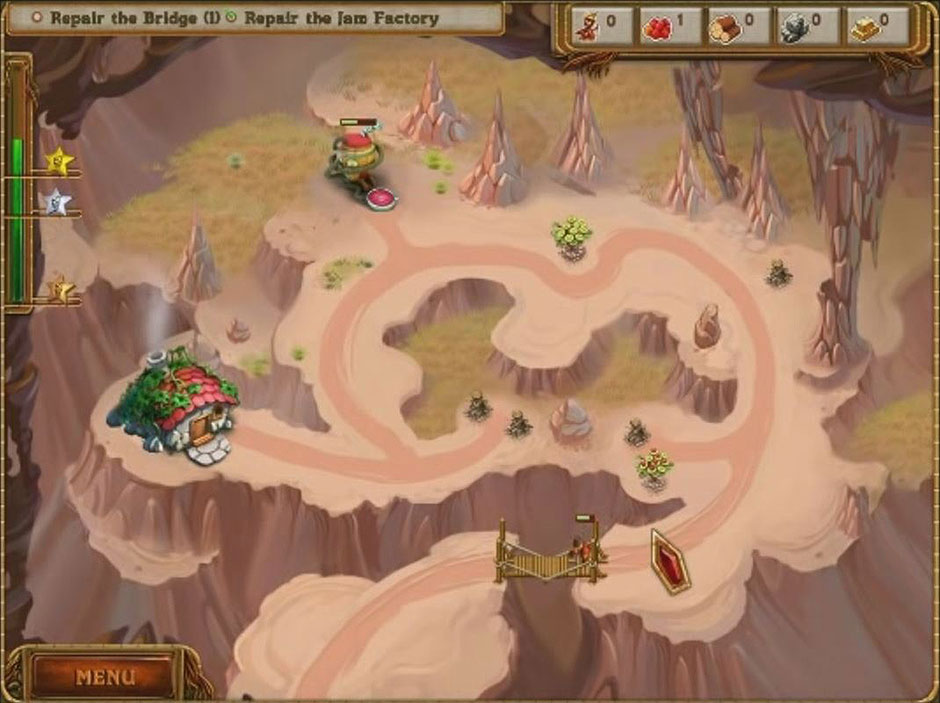
Level One has one specific task of clearing the road. You will need energy at the beginning so you must pick berries. On level two you will need to clear the road to get to the trees. You need to chop down the trees in order to rebuild the bridge. Unlike the berries, you don’t have to chop the trees multiple times in order to get the wood. Level three features a new factory. You will need to repair the jam factory. You will need to stock up on wood and berries first. Once you chop down the trees and collect the berries, you will repair the factory. You will need to hire another worker for the factory.
To hire a new worker, click on the worker’s house. In the middle of your screen at the bottom, you will see an icon to add a worker. It will cost you 3 berries, but the worker will be delivered fast. This will allow the factory to be running while you repair the bridge. Your next level will introduce the sawmill. While clearing the roads, you will need to hire workers and collect the wood for the sawmill. Like the jam factory, you will need to have a worker in the sawmill to run it.
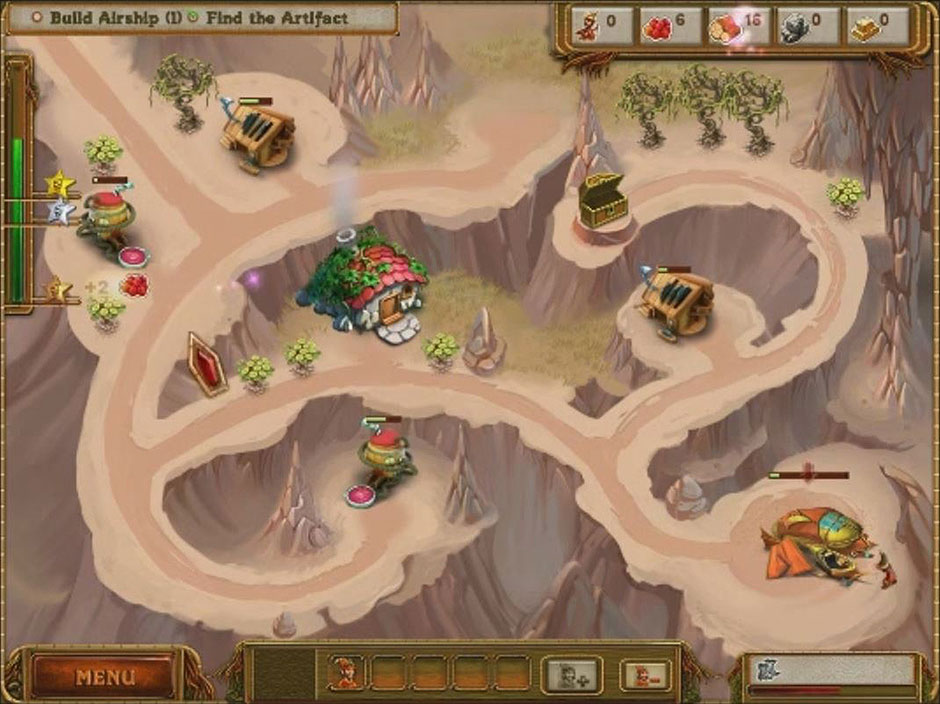
The final level of this section introduces an aircraft. Fixing this aircraft will send you to the next island on your journey. In order to do that, you will need lots of wood and workers. First, you will need to repair all the factories and collect all the wood. Once you have enough wood, you can start working on the aircraft. It will allow you to add up to five workers at once to build the aircraft faster. Make sure you keep track of the wood, because if you run out, you have to wait for the sawmills to catch up. You will also be trying to get a key to get into a chest. In the chest is your first bonus: the boots.
The Floating Island (Levels 6-12)
Levels 6-12 features creative ways to move from one island to another. These levels build on the previous levels, but they have introduced cannons, goats, and bigger tasks. Level 6 features the cannons and a goat. You will need berries for both the cannons and goat. To help with the collection, repair the jam factory to fund the tasks. You need five berries for each cannon and goat. Level 7 has two jam factories. You only need one in order to complete the tasks. Complete the level by chopping down the trees and pick all the berries.
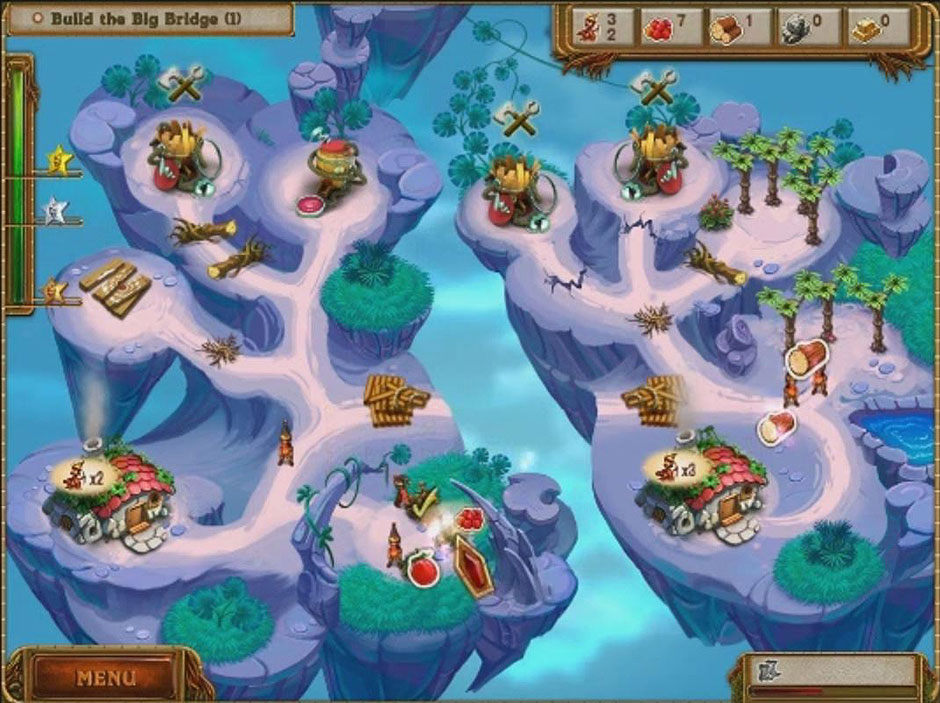
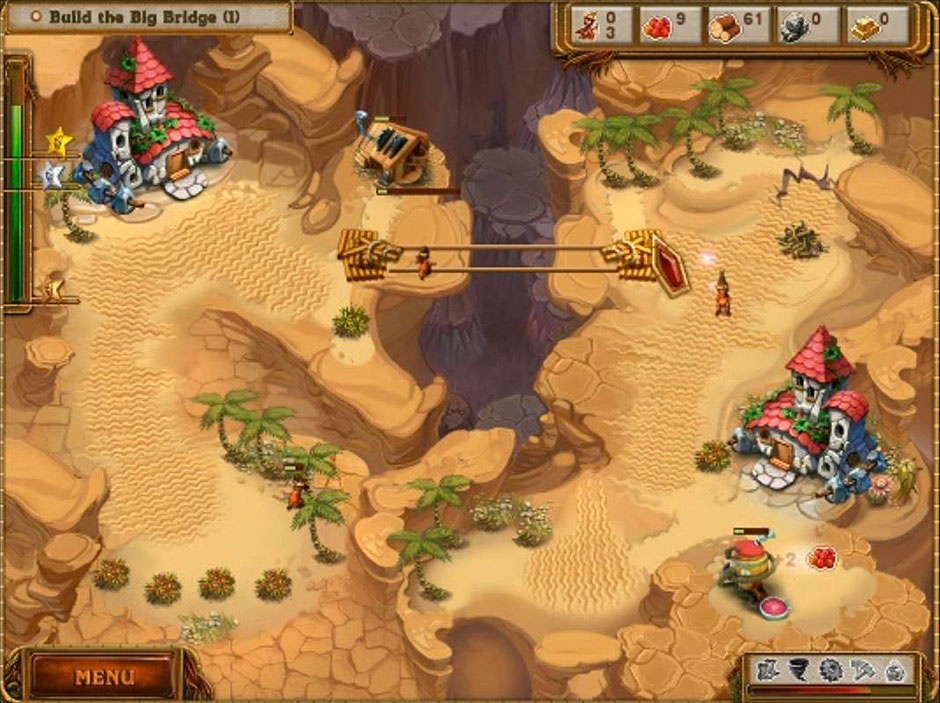
Level 8 has an intact jam factory. Work your way to that factory first and get it staffed. Acquire more workers to help with the other factories and the bridge. Each side of the islands has the option of hiring workers. You need 5 works for the jam factories and the air store. So consider hiring about 4-5 more workers. The air store will allow you to trade berries for wood.
Before you start on the bridge, don’t forget to chop down all the trees. Make sure you start working on the bridge on both sides at the same time. For level 9, you will need another worker immediately. You will need all the berries to get the cannons and the bridges built. Get the factories quickly so you can conserve the materials.
Level 10 features gold. You will need to shoot the cannons to get to the gold. Wait to fix the sawmill until after you retrieve the gold. In order to get the five pieces of gold, you will need to click on the rock that many times. Level 11 requires you to collect 30 pieces of wood. You need to first repair and staff the jam factory. This will get the energy required for the other factories.
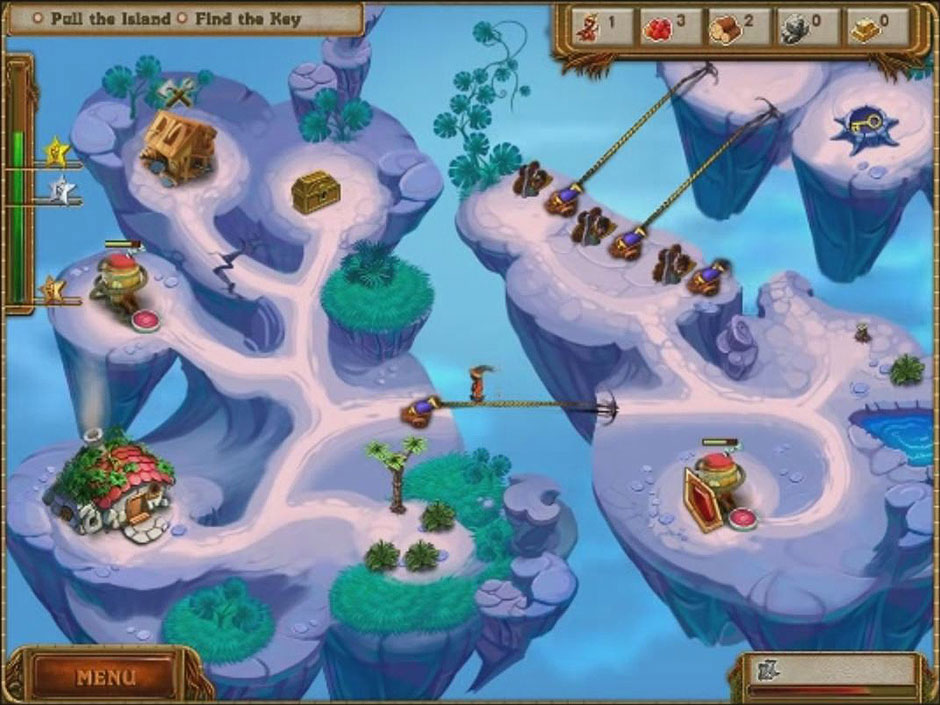
Build the sawmills. Then collect the wood as it becomes available. The final level of the floating islands features tighteners and cannons. You will need wood and berries. The tighteners require both. You need all of them working to move the other island closer to get the key. In the chest is your second bonus, the whirlwind.
The Swamp (Levels 13-23)
The Swamp features robbers and crocodiles. In order to satisfy the robbers, you need to get to the gold. The crocodile is just like the goat. On level 13, you will need to build up to the top gold piles. Next build down to bottom right robber. Clearing out that robber will allow you to get to the gold. Feed the crocodile after collecting the gold and get his share.
Level 14 needs at least two more workers. You need to work to the right to get wood then build to the center island. Bribe the robber and repair the jam factory. Level 15 focuses on the fruit. Fix and staff the jam factories before fixing the store. You will need to collect 24 pieces of fruit so pick all the berries you can first. This will help with the overall goal.
On level 16, you have to collect the wood again. Stock up on at least three extra workers to staff the factories. Be prepared to feed the goat in order to get to the first sawmill. As you go around the island to the second sawmill, cut down the trees and collect the berries. Once you have both sawmills, use the whirlwind in the bottom right side of your screen to help collect the materials. Level 17 requires another worker at the start. You need to bribe the robber and collect 10 pieces of gold. Start going counter clockwise in order to get the necessary gold.
Level 18 features gold as the goal again. You need to chop down the trees to help build the road. Don’t forget that the crocodile needs 5 berries to be captured. Focus on getting one sawmill built and forget about the second one. You will not need it. In order to get the gold, you will need to build over the gold pile.
Level 19 requires you to fix the jam factory. Build the roads and clear the debris as you go. Level 20 has you upgrading the factories. You will need to collect the gold and remove both the crocodile and robber first. Once you upgrade all of them, don’t forget to staff them. Level 21 builds on what you did in level 20; however, you don’t need to work past the goat in order to beat the level.
Level 22 requires more work. You need to find the key. In order to get the key, feed the crocodile and bribe the robber.. Once you get into the chest, you will receive the gear. Level 23 ends the swamp with building the causeway. This will lead into the mystical forest.
The Mystical Forest (Levels 24-34)
Be prepared to fix the gold mines on level 24. You will need most of the wood so chop down the trees. In order to collect the 20 pieces of gold, use the gear bonus to speed up the mines. To be successful in level 25, you will need to clear all berries and wood. You will also need to capture the gorilla with 3 pieces of wood and 5 berries. Repair the factories and bribe the robbers. Level 26 is like a previous level in which you need to collect wood.
Make sure all the trees are chopped down while getting the air store built. Levels 27-30 all use the same tools as levels 24-26. You need to collect stones or upgrade factories. Remember to have plenty of workers (4-5) on each level.
Level 31-34 deals with stones and how they affect the workers. You need to clear them from in front of chests or roadways. On level 31, you need to find a key to get the new bonus: the hammer. Level 32 brings back the cannons. It will talk you to the gold mine to update and staff.
Level 33 will involve one worker just clearing out the trees and berries while another works on the stones and cracks. Invest in other workers to speed up the process. On level 34, bribe the robbers before you cut down the woods. Repair the gold mines.
The Desert (Levels 35-47)
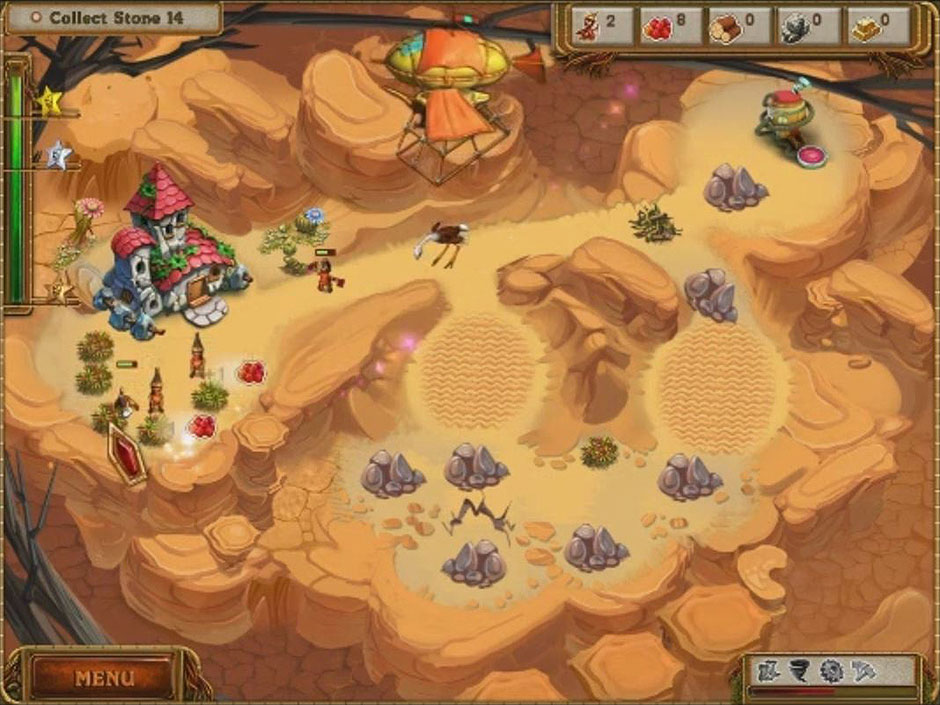
Level 35 works with stones and snakes. You don’t need to build the third bridge. Focus on the air store and trade the wood for stone. With level 36, get down the road once you get enough food. Clear all the snakes as you go, leaving the rock and the snake behind it for last.
Levels 37-38 require you to go to the sawmill as soon as you can. Repair the jam factory and staff it. Once you have 11 berries, repair the crack and work to the next factory. Look out for the ostrich. Make sure you remove it.
On level 39 you need to collect wood. Capture the ostrich and hire at least 3 more workers to clear the wood. Level 40 requires the clearing of sand hill. In order to do that, you need to clear the wood blocking and get the animals off the area. Hire workers to staff the sawmill and jam factory while you clear the land.
Level 41 contains the final bonus. You will need to stock up on berries to get past the ostrich and snakes. Fix the crack in the road before the chest and earn the final prize: the clock. Level 42 just requires you to remove rock blockages. Level 43 has a sawmill that needs upgraded. To save time, use your freeze bonus. This will allow the work to go on without hurting your time. Don’t forget about berries when it comes to the snake.
For the final levels in the desert, use your time freeze as much as you can. You will need the gold behind the ostrich in level 44 to bribe the robber; however, collect the wood in front of the ostrich first. This will help remove the creature. Level 45 requires the collection of 20 pieces of wood. Get the factories built and then use the bonus. In order to defeat level 46, you need to upgrade the factories to a level 3 and collect wood. To upgrade, remove the staff from the sawmills and then rehire them. Level 47 requires you to hire new workers for both sides like in level 8.
The Mountain of Lava (48-65)
You are so close to the end! You have reached the final levels. Unlike the other lands, you are just enhancing what you have learned. You are using the new tricks and tips found above. In level 48, you need to make sure all the factories are staffed and use your freeze bonus throughout. Like in level 46, you will need to upgrade your sawmills to a level 3 for level 49. Make sure you have plenty of food to help. Levels 50-54 are just like level 49. You need to upgrade and continue to collect supplies. Level 55 introduces a monster. You must use 10 pieces of gold to get rid of it.
Throughout the level, keep collecting berries. The levels are standard upgrades after that until you reach the final level. You must reach the chest in order to get the crystal. You need to remove all the monsters while staffing your factories. Remove the gorilla only after you get past the first gold pile. It will give you enough money to remove it. Pick up the key and open the chest.
Once you open the chest, you have won! Congratulations! You have defeated the witch and restored order in the kingdom. Through the use of your tricks, you have gone through five different lands. Now you can go back to the gnome home and relax. A Gnome’s Home – The Great Crystal Crusade is now complete.
For more great tips and tricks and a selection of other walkthroughs, visit our blog!
The A Gnome’s Home – The Great Crystal Crusade Walkthrough is meant as a guide and does not contain cheats, hacks, or serials.
The post A Gnome’s Home – The Great Crystal Crusade Walkthrough appeared first on GameHouse.
