The small town of Everlake has been struck by a string of seemingly unconnected kidnappings. When a child you know goes missing, you resolve to take matters into your own hands. The game Rite of Passage: The Perfect Show is a gripping mystery that requires you to solve challenging problems, convince shady characters to open up, and be a top-notch detective – before it’s too late!
Below you will find a comprehensive walkthrough of Rite of Passage: The Perfect Show, including a level by level road map and tons of useful tips and tricks. Whether you glance at it casually or use it from beginning to end, this short guide can help you unravel the truth behind the seemingly supernatural events that are plaguing the small town of Everlake. This short walkthrough is based on the Collector’s Edition of the game and is meant to serve as a guide for Rite of Passage: The Perfect Show. Some details may be slightly different from the standard version of the game. You do not need to do things exactly as we suggest, however, bear in mind that certain actions must be completed before advancing to the next chapter.
Contents
General Tips and Tricks
Rite of Passage: The Perfect Show is a hidden object game. You will be required to visit several locations to gather objects and solve puzzles in order to advance. Frequently, you will have to revisit scenes after completing certain puzzles elsewhere. Every time you return to a scene, pay close attention. Subtle elements of the scene may have changed, and sometimes brand new items appear. All of the objects you find and collect will be added to your inventory, which you can see at the bottom of your screen.
In general, the gameplay is linear but there is a certain amount of freedom for you to choose how to go about exploring different scenes.
Before you begin playing, you will be asked to choose a difficulty level: Casual or Expert. Note that once you start playing, you cannot alter the difficulty level of the game.
Controls
The Main Menu tab will allow you to Exit, Pause, Save, or Resume your game. The Options button will allow you to adjust:
- Screen size preferences
- Volume levels of
- Music
- Ambient Sound
- Character Voices
- SFX Volume
- Hardware Cursor
Searching a Scene
As you enter a new scene, move your cursor slowly over the objects on screen. If the cursor changes at any point in time, that means an action can be performed. If the cursor becomes a hand, the item can be picked up. If the cursor becomes a magnifying glass, you can zoom in on that area for closer inspection. If the cursor becomes a gear, you can interact with the scene.
Investigative Tools
To help you solve the mystery, the game gives you a number of tools to work with, the most important of which is a Journal divided into various relevant sections. This will automatically record key pieces of information you uncover and clues you find. It will also display the objectives of each Chapter and tips for solving the puzzle challenges. Whenever new information is added to your journal, it will glow.
If you get stuck during gameplay, you can always press the Hint button. During normal gameplay, the Hint button can offer suggestions of what to do next or where to search in a scene. During Hidden Object scenes, the Hint button will reveal the location of an item. During puzzles, the Hint button will transform into a Skip button so that you can bypass the challenge if you so choose.
Hidden Object Scenes
Throughout the game, you will encounter a number of Hidden Object Scenes. These games are indicated on the screen by a cluster of sparkles shimmering over an area. Each scene will show a random assortment of items and give you a list of particular ones to find. Some objects are very straightforward and merely need to be clicked on to be considered “found”. These items will be written in white lettering.
Other objects are not so easily found. The items listed in yellow lettering are hidden from view. You will be required to move objects around to search underneath or to open doors, bags, cases, etc. to search inside in order to find these items.
Finally, there are items which require multiple steps to find. These will be listed in blue. For instance, in one scene you may be asked to find a King. But there is apparently no King in the scene. However, there is a toy doll and a small crown. If you drag the crown over to the doll and place it on top of the toy’s head, you will find your King.
Hidden Masks
In the Collector’s Edition of the game, there are 55 Masks hidden in various scenes throughout the entire game. Finding all 55 Masks will result in a bonus at the end of the game. When the Mask icon (located in the bottom right hand corner of your screen) is green, that means there is a mask to be found in the scene you are currently in. If the icon remains gray, it means you have already found the scene’s mask or else it means that the scene has no mask to find.
Collector’s Edition
In addition to the Mask bonus, the Collector’s Edition includes a number of features that supplement the standard game. The new version has:
- Bonus rounds of gameplay
- An integrated strategy guide
- Music
- Beautiful Wallpapers
- Concept Art
- A screensaver
Gameplay
In the story, you are the local music teacher of Everlake. It is a small, sleepy town where everyone knows each other’s name and nothing much exciting ever happens. Needless to say, the local law enforcement does not have much experience investigating major crimes – certainly not one as complex and paranormal as this. But perhaps a clever and creative citizen such as yourself has what it takes.
At the center of this spooky tale are an old, seemingly abandoned puppet theater and the enigmatic puppet master himself. Could the spooky old man really be changing the local kids into puppets to complete his diabolical “Perfect Show”? Only you can find out the truth.
Rite of Passage: The Perfect Show Walkthrough
Chapter 1: The Playground
You begin the game in a local café. The detective has just walked out. He means well but perhaps is not the best sleuth. He leaves behind a number of papers that can provide useful clues. His notes will also reveal your first objective: “I should go to the crime scene on the playground and check if I missed anything.”
In this Chapter, you will explore the Street, the Lake, Havenhills, the Town Square, the Playground, the Play Castle, and the Intricate Gate. The level has three different Hidden Object Scenes, nine masks, and two puzzles. The puzzles can be found in the playground gate and a manhole cover.
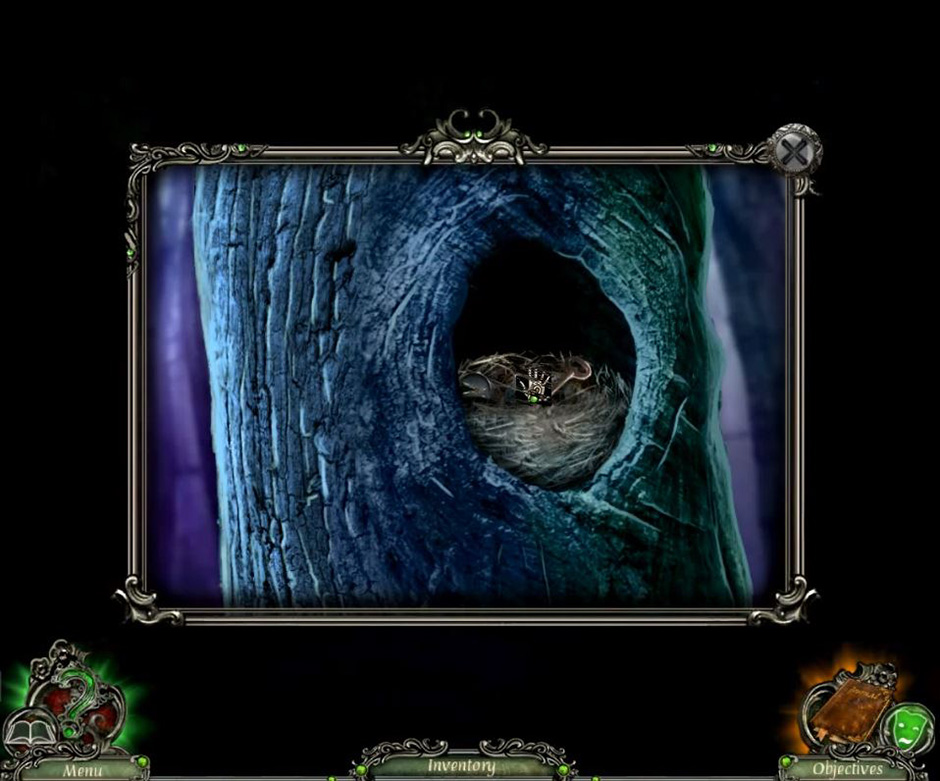
In order to advance to the next Chapter, you will need to find the CEMETERY KEY to unlock the Cemetery Gate. You can find the CEMETERY KEY in Havengrove. As you walk up the path from the Playground to Havengrove, you will scare away a number of birds nesting in the tree on the right hand side of the screen. Peer within the hollow, and underneath the nest you will find the CEMETERY KEY.
Chapter 2: The Cemetery
In this Chapter, you will explore the Street, the Lake, Havengrove, Amber’s House, Amber’s Room, and the Intricate Gate. The level has three different Hidden Object Scenes, five masks, and six puzzles. The puzzles can be found on the missing children’s board, the Cemetery, two different puzzles are in the Play Castle, and two are in Amber’s Room.
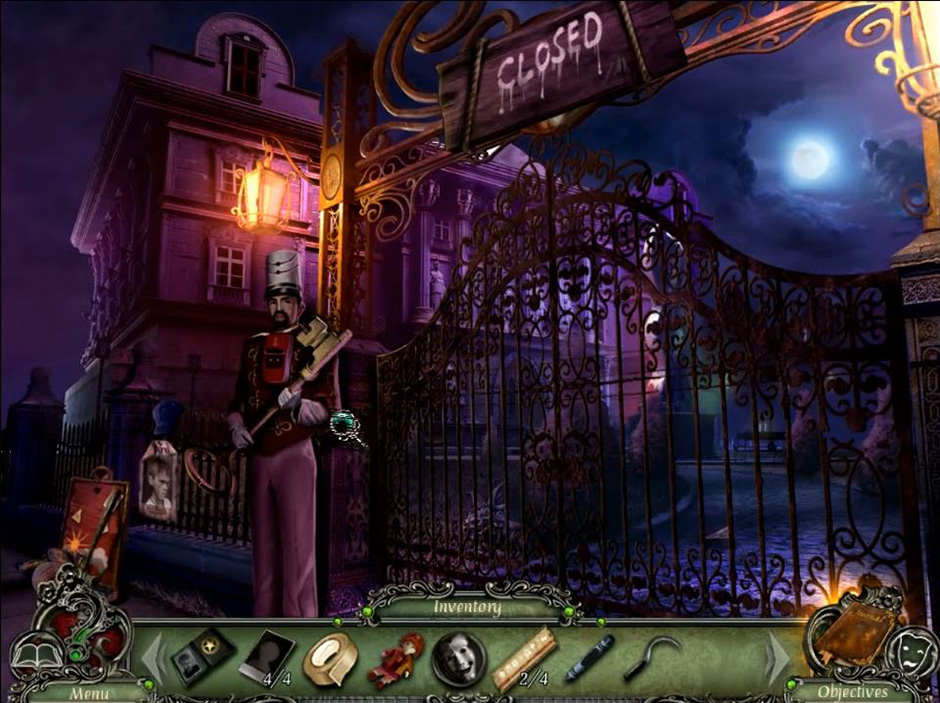
In order to advance to the next Chapter, you will need to repair the TORN THEATER TICKET and insert it into a slot in the guard’s chest.
One half of the TORN THEATER TICKET can be found in Amber’s Room. Insert the ORIGAMI SWAN you made into the center of the heart-shaped box on her table. This will unlock an animal-matching puzzle. Once you solve the puzzle, the TORN THEATER TICKET will appear in the middle of the heart-shaped box.
The second half of the TORN THEATER TICKET will appear in the hand of the Town Square statue once you remove the jewel. You can remove the jewel using the SQUARE KEY you received for successfully solving puzzles back in the church. Tape the two pieces together using the DUCT TAPE you found underneath the toys outside of the café.
You will also have to put a SOLDIER’S HAT on the guard. The SOLDIER’S HAT can be found on the ground in the graveyard.
Chapter 3: The Theater Yard
In this Chapter, you will explore the Theater Yard, the Backyard, the Workshop, and the Theater Basement. The level has four different Hidden Object Scenes, four masks, and three puzzles. The puzzles can be found in the Workshop door, the Theater Yard, and the Backyard.
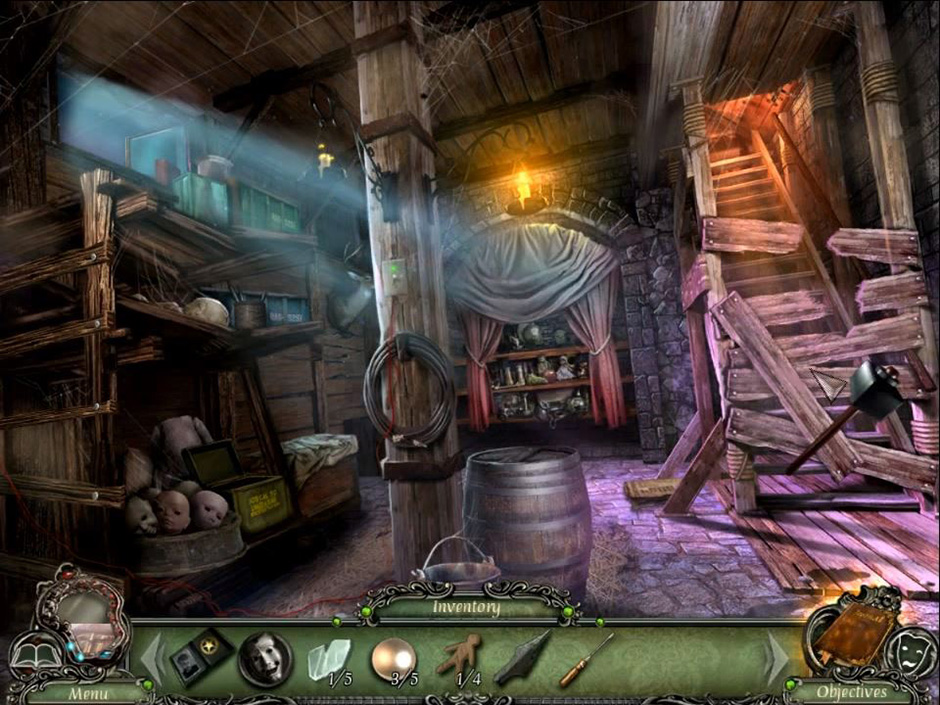
In order to advance to the next Chapter, you will need to break through the boards blocking the stairs that lead from the Theater Basement up to the Theater Stage Area. You can do this using a SLEDGEHAMMER. You receive the SLEDGEHAMMER for your inventory by completing the Hidden Object Scene in the Theater Basement.
Chapter 4: Backstage
In this Chapter, you will explore Backstage, Storage, the Stage, the Manager’s Office, and the Boiler Room. The level has three different Hidden Object Scenes, five masks, and eight puzzles. The puzzles can be found on the Stage, the Theater Basement, the Manager’s Office, three different puzzles are Backstage, and two are in the Boiler Room.
You will need to combine four BUTTONs and insert them into the slots of the Manager’s desk. The first BUTTON can be found in Havengrove. In the split tree on the right hand side of the screen, a CLUE BUTTON is stuck in a slit of the tree. The other BUTTONs can be cut off of the Manager’s coat using a SHARP STONE. (You should have taken the SHARP STONE when it was revealed to you upon completion of Colored Token puzzle in the Backyard of the Theater.)
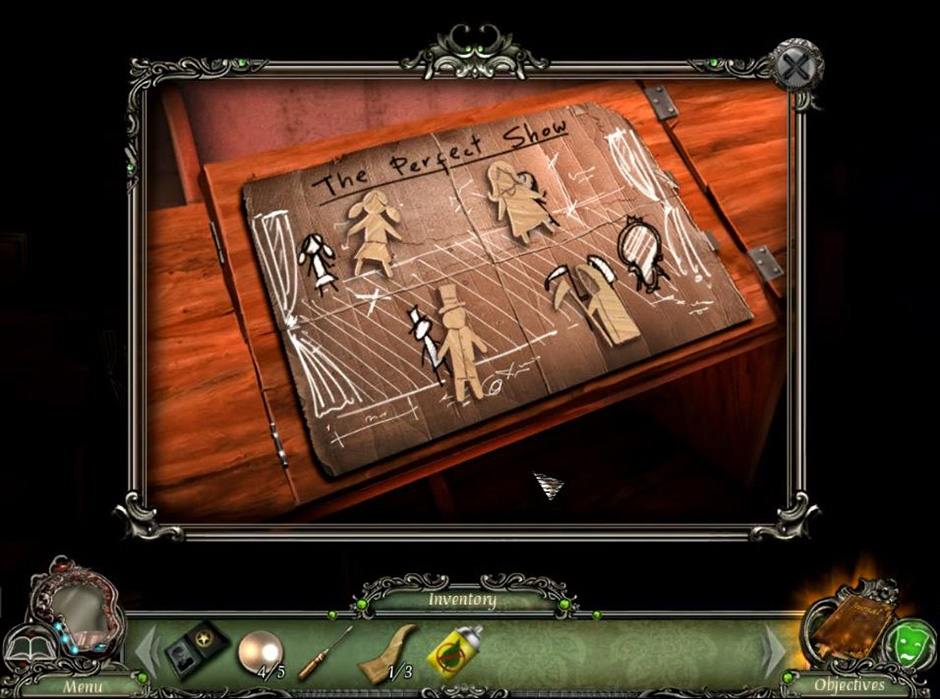
This will unlock the desk and allow you to open each of the door panels. Place the four CARDBOARD FIGURES you found earlier on the drawing and rearrange them until they match the white stick figure drawings.
The first CARDBOARD FIGURE can be found hidden between the papers on the floor of the Theater Basement. The second CARDBOARD FIGURE is Backstage. If you zoom in on the curtain raising mechanism, you will see that the rope numbers are mixed up. Put them back in the proper order (1, 2, 3, 4) and you will find the second CARDBOARD FIGURE underneath them. The third CARDBOARD FIGURE is located on the floor of the Boiler Room. The final CARDBOARD FIGURE can be found once you manage to open the trunk on Stage. Rummage around within the trunk and you will find the CARDBOARD FIGURE buried inside.
Now you can advance to the next Chapter.
Chapter 5: The Doll Manufacturing Room
In this Chapter, you will explore the Workshop, the Doll Manufacturing Room, the Tree of Puppets, the Scenography Workshop, the Doll Manufacturing Room, the Atelier, and the Passage. The level has three different Hidden Object Scenes, five masks, and three puzzles. The puzzles can be found at the Tree of Puppets, the Doll Manufacturing Room, and the Atelier.
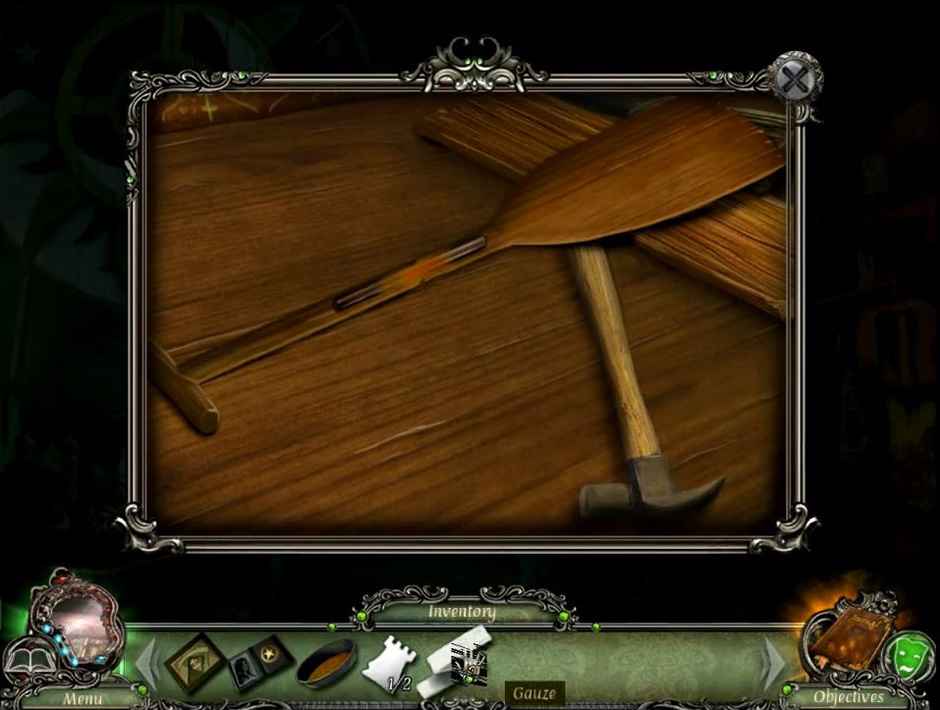
To advance to the next chapter, return to the Lake with the OAR you have repaired. The first broken piece of OAR can be found on the floor of the Tunnel. The oar handle can be found on the worktable in the Scenography Workshop. You must place the METAL ROD on top of the two pieces and use the RESIN GLUE over the three pieces to repair the OAR.
You will have to make the RESIN GLUE yourself. There is a small crack in the Tree of Puppets. From this you scrape out three drops of RESIN using the RAZOR you received for completing the Hidden Object Scene in the Atelier. At the work table near the Tree of Puppets, combine the CHARCOAL you found on the floor of the Doll Manufacturing Room with the RESIN. Grind the ingredients together with a PESTLE, which can be found on the table in the Atelier. Heat the concoction with the burner that is on the worktable to make RESIN GLUE.
Put the OAR in the boat and row across the lake towards the Mansion.
Chapter 6: The Mansion
In this Chapter, you will explore the Mansion, the Mansion Entrance, the Foyer, the Basement Stairs, the Mansion Basement, the Workshop Atelier, the Workshop Passage, the Tunnel, the Library, and the Upstairs. The level has three different Hidden Object Scenes, eight masks, and five puzzles. The puzzles can be found in the Mansion, the Atelier, the Library, the Upstairs, and the Tunnel.
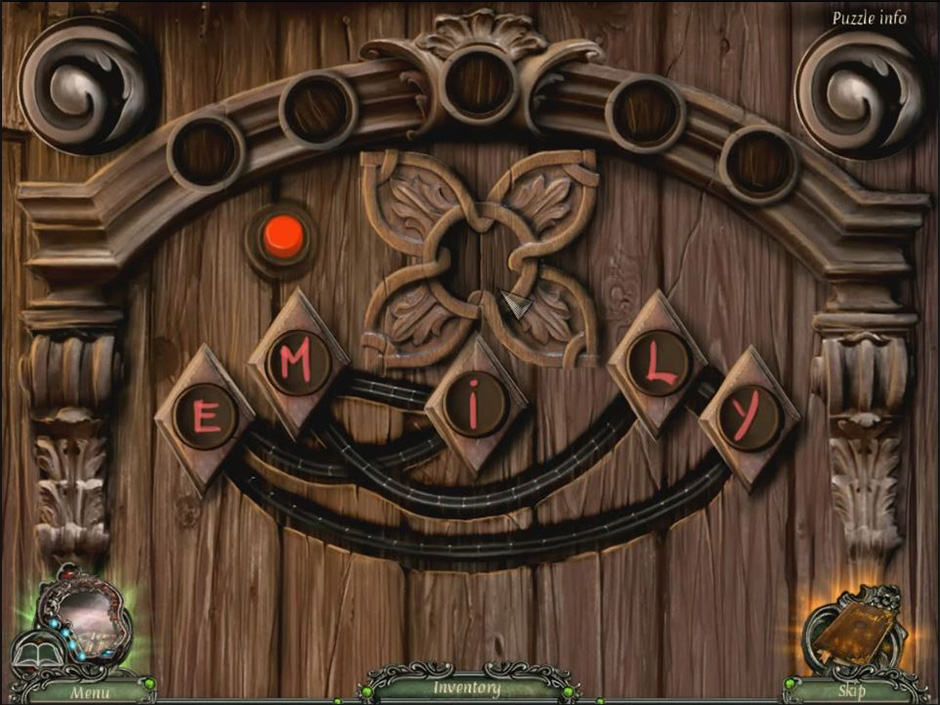
In order to advance to the next Chapter, you will need to solve a puzzle. Place the five LETTERS you found in the appropriate slots on the Upstairs door to unlock the puzzle. You need to put the LETTERS so that they go down the tracks in such a way they spell out EMILY.
Chapter 7: The Kid’s Room
In this Chapter, you will explore the Kid’s Room, the Library, the Upstairs, the Bedroom, the Work Cabinet, the Foyer, the Gallery, the Hall of Secrets, the Mirror Room, the Work Cabinet, the Mansion Basement, and the Stage. The level has six different Hidden Object Scenes, six masks, and five puzzles. The puzzles can be found in the Hall of Secrets, the Bedroom, the Stage, and two different puzzles are in the Gallery.
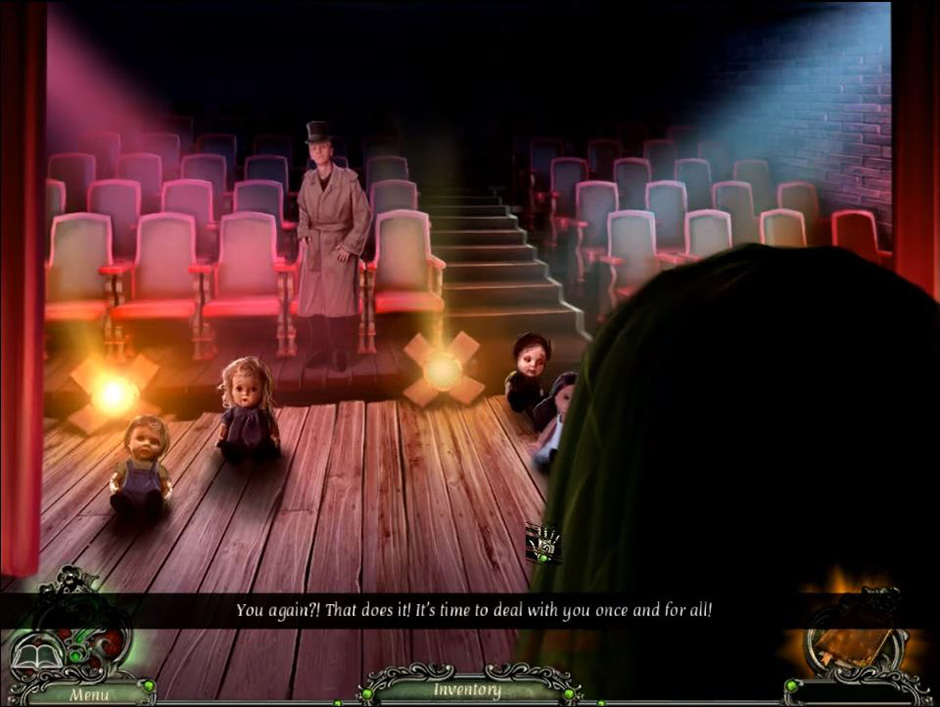
If you solved all of the puzzles correctly, by the time you reach the final scene, the Stage, all you will have to do to save the children is remove the BLANKET from the MIRROR and play three rounds of a match-the-symbol game in order to set the kids free and win the game!
Collector’s Edition Bonus Play
The Collector’s Edition offers several rounds of extra gameplay. This bonus round will take you to places that you have seen before (the Street, the Lake, Havenhills, the Library, etc.) as well as brand new locations including Henry’s House, Grandma’s House, the Shrine, the Attic, the Mine Entrance, the Mine, the Chamber Entrance, the Chamber, the Red Phoenix Shrine, and Emily’s Bedroom.
The level has eight different Hidden Object Scenes, thirteen masks, and six puzzles. The puzzles can be found in the Library, the Chamber Entrance, the Red Phoenix Shrine, Emily’s Bedroom, and two different puzzles are in the Mine.
The objective of the bonus rounds is to save Henry and Emily from the evil spirits that lurk within the Mine. After sprinkling PHOENIX DUST on Emily, the Grim Reaper will appear.
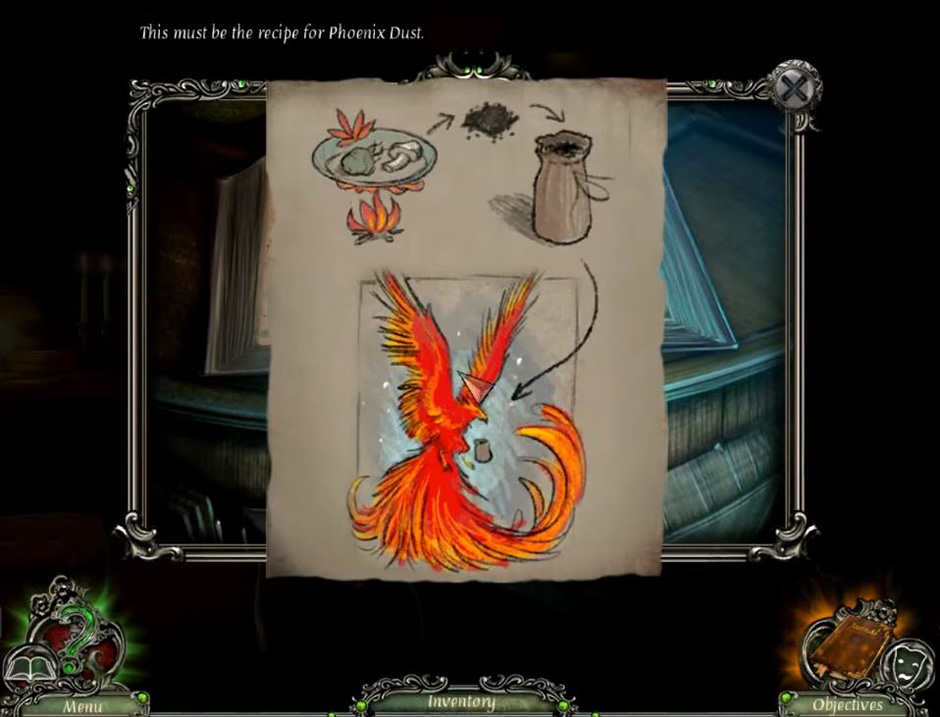
You will have to make the PHOENIX DUST yourself using the recipe you found in the Library. All of the ingredients can be found near the lake. Before you use the PHOENIX DUST on Emily, however, you must read the instructions on how to properly administer the potion. Information about PHOENIX DUST can be found lying on top of a crate in the Attic.
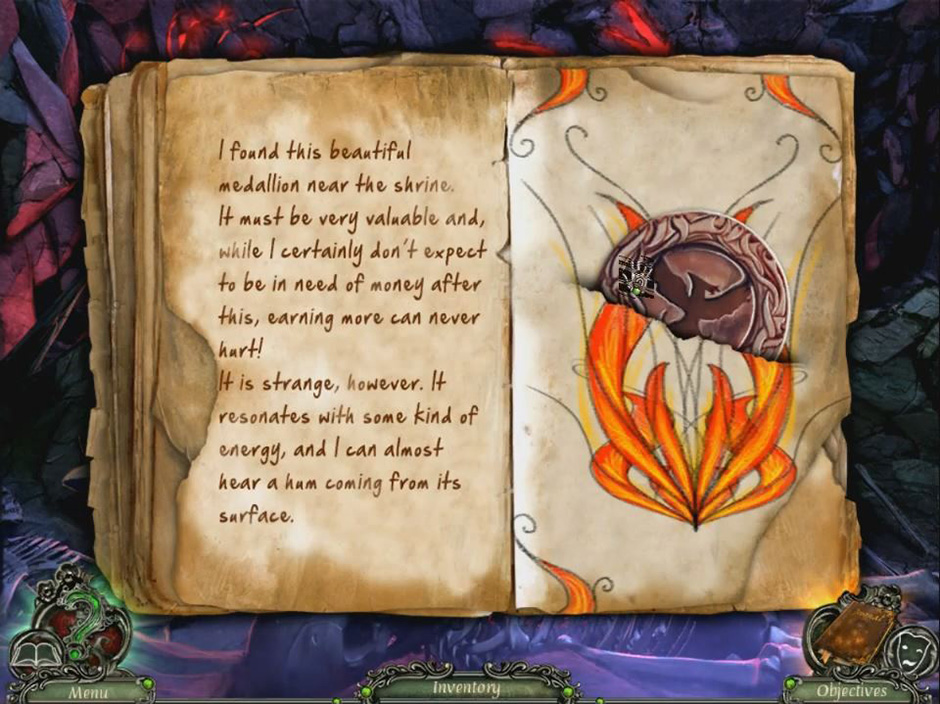
Put the PHOENIX MEDALLION around the Grim Reaper’s neck. The PHOENIX MEDALLION can be found in the Red Phoenix Shrine. An old diary rests in the boney fingers of a skeleton. If you pick it up and begin to read its contents, you will find the PHOENIX MEDALLION on the second page.
This will initiate a match-the-symbol puzzle with several rounds against the Grim Reaper and his minions. If you can complete the puzzle, you will save Emily and successful finish Rite of Passage: The Perfect Show!
Completing these rounds will also allow you to find all 55 Masks.
If you found this walkthrough helpful, check out some of the other guides available on the GameHouse blog, including:
- Delicious – Emily’s Honeymoon Cruise
- Delicious – Emily’s Home Sweet Home
- The Dreamatorium of Dr. Magnus 2
The post Rite of Passage: The Perfect Show Walkthrough appeared first on GameHouse.
