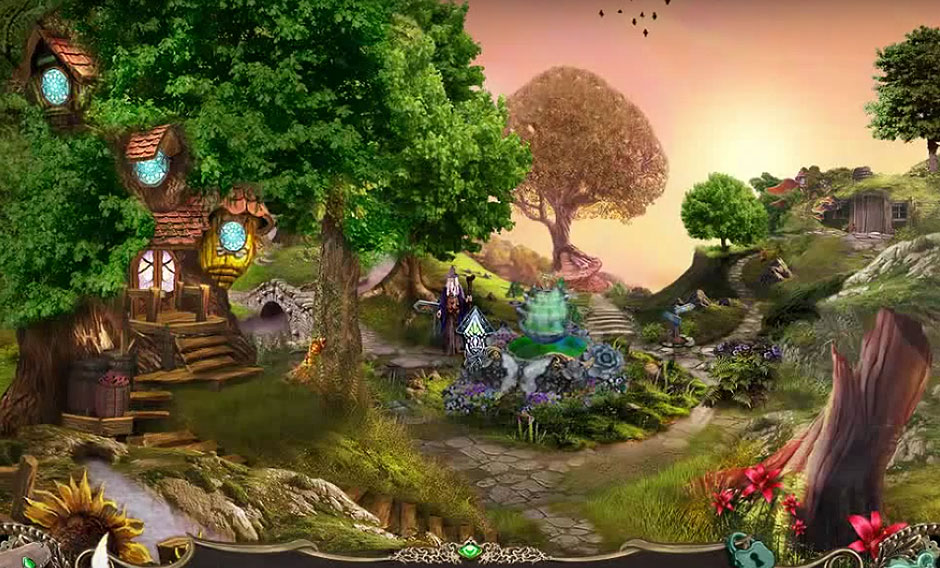
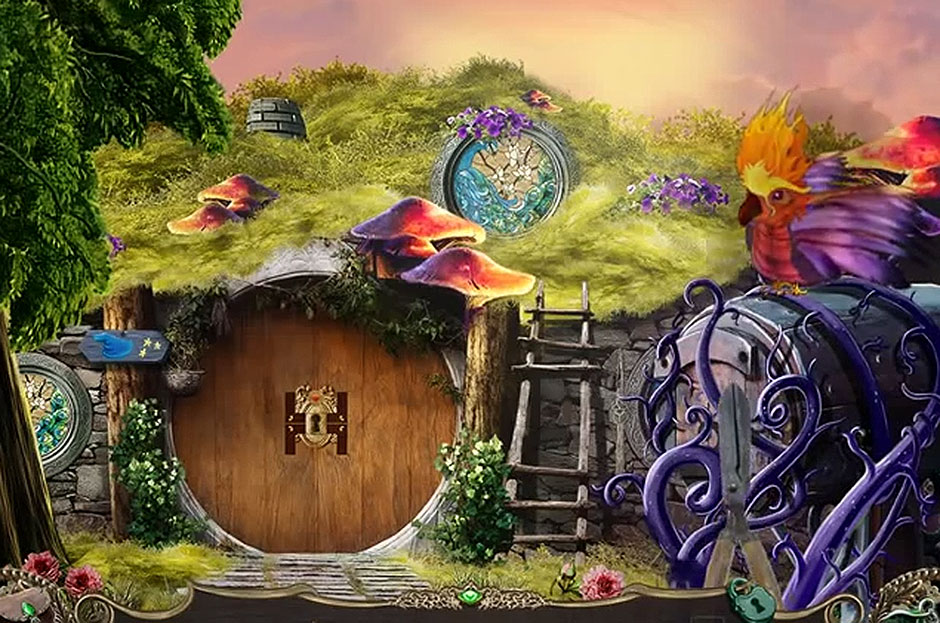
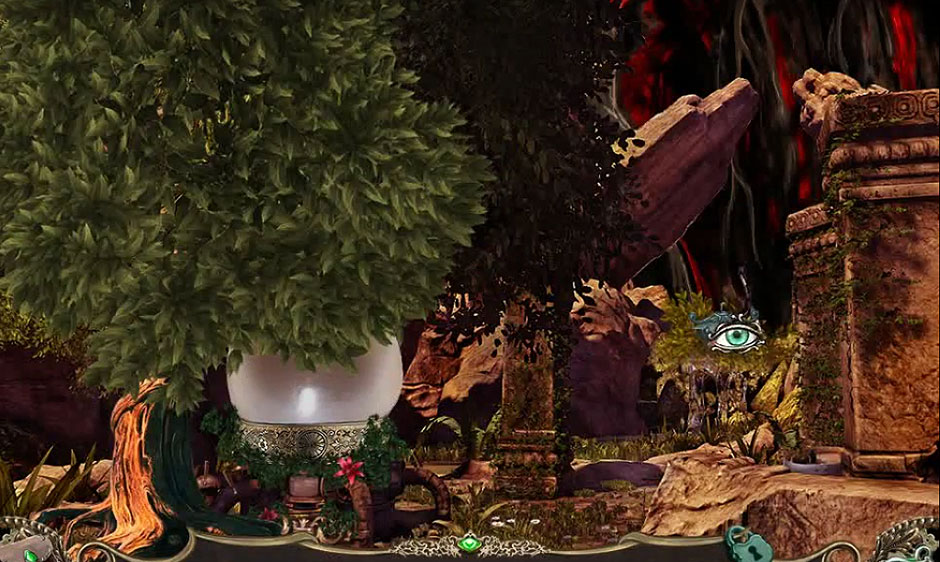
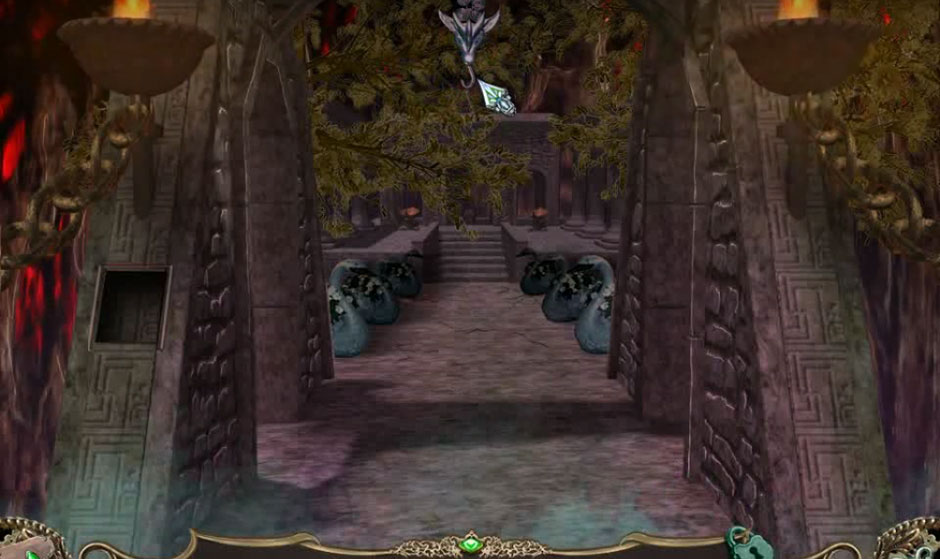
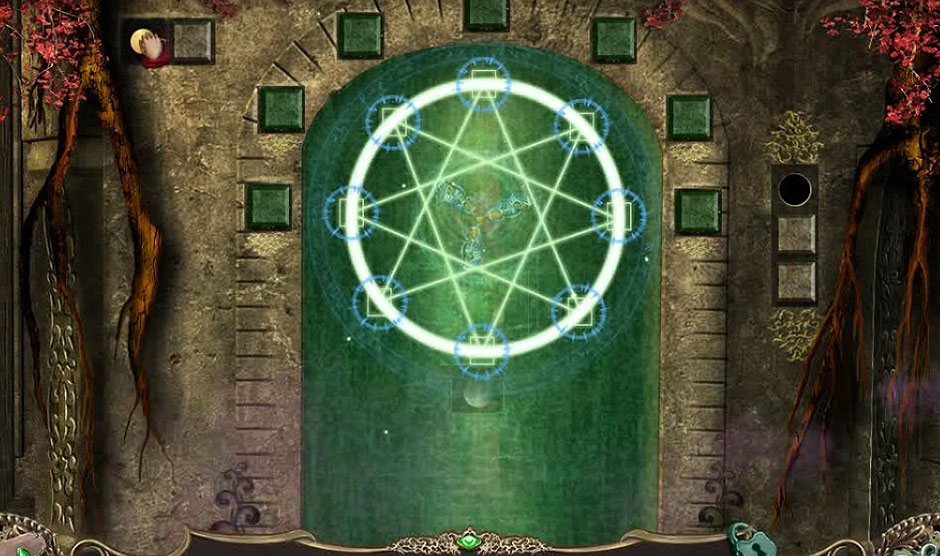
Help Amy heal the Tree of Life In this 7 Roses – A Darkness Rises Hidden Object game. This guide will help you solve puzzles and riddles and unlock all extras without any spoilers or cheats. As you journey, you will find tools and make magic potions. The Darkness is coming and your achievements will help save the world.
Contents
General Tips & Tricks
This guide will explain what you need to know to get started. This game is primarily a Hidden Object game. Here are the basic mechanics of gameplay:
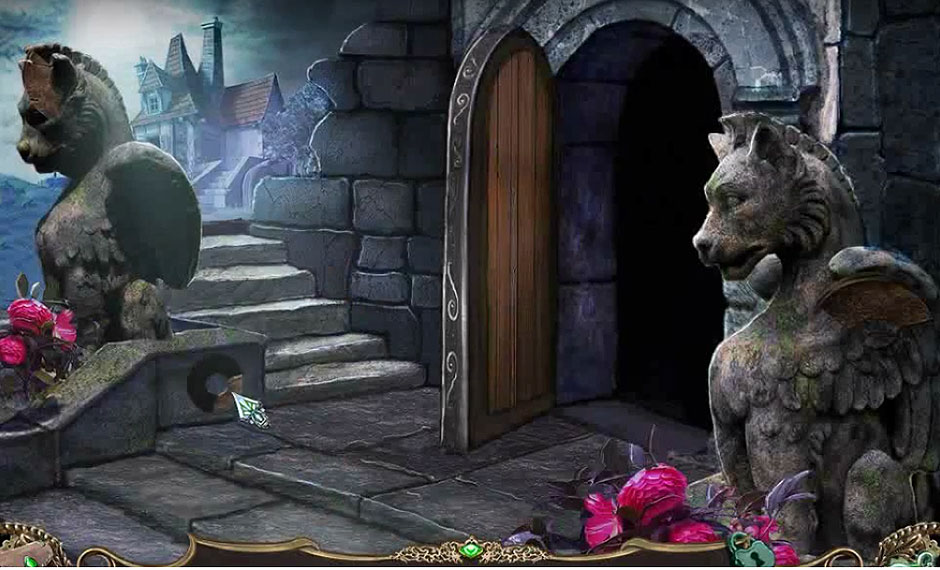
• Move: To move, click when your curser changes to a Large Arrow. The arrow may go to left, right, or turn around/go down.
• Zoom: When curser changes to an Eye, click to get a close up of that area.
• Interactive: A Question Mark indicates an interactive area.
• Pick Up: To pick up an item, move cursor until it changes to a Hand. Click to add item to your inventory
The bottom of your screen displays a few things that are helpful. You will refer to these areas throughout your game.
• Inventory: When you hover cursor at bottom of board, you bring up your Inventory box. If you want Inventory to stay visible, click on Padlock. Click Padlock again to hide Inventory.
• Backpack: Clicking the backpack pauses game and brings up Menu.
• Hint: Click Green Gem to get a Hint.
• Journal: You do not begin with your journal, but will discover it soon. Throughout game a small quill and inkpot in upper right corner indicates that a clue is being recorded in your Journal
Tips and Tricks
• Sometimes you need to collect multiples of an item. This will be indicated by a number such as 1/3, meaning that you have one of three that you need.
• In an item in inventory has a small “x,” this is an item to be assembled within Inventory. First click on item with “x,” then click on item that goes with it.
• Try to find all objects within an area before moving on to the next. This can minimize having to go back and forth.
7 Roses – A Darkness Rises Walkthrough
In the opening scene, we enter Amy’s nightmare. As her mother sends her down the river, the mother’s necklace falls into the water.
Amy’s World
Amy’s Room
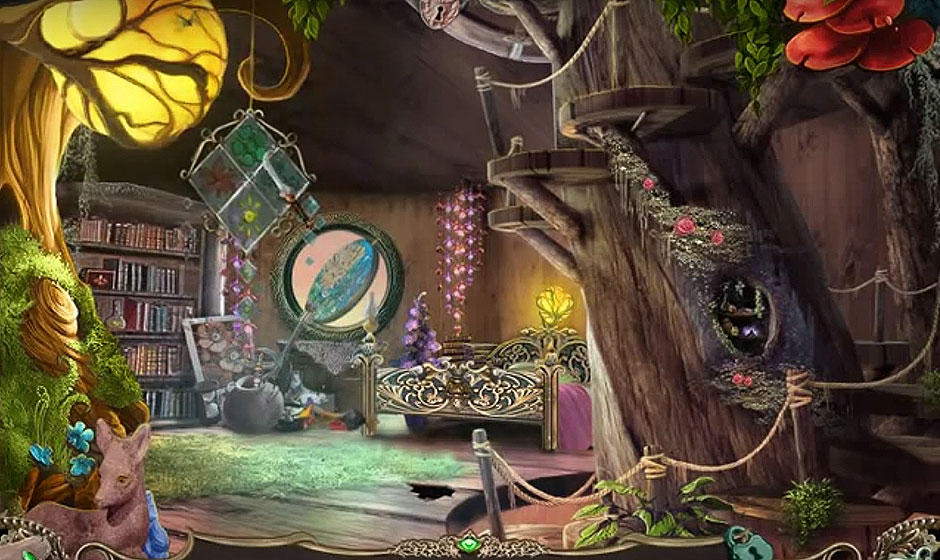
When Amy awakens, she remembers her mother’s necklace and searches to find it. Start game by turning around/going downstairs.
Downstairs
• Turn right.
• Find items that are indicated by shadows at bottom of screen.
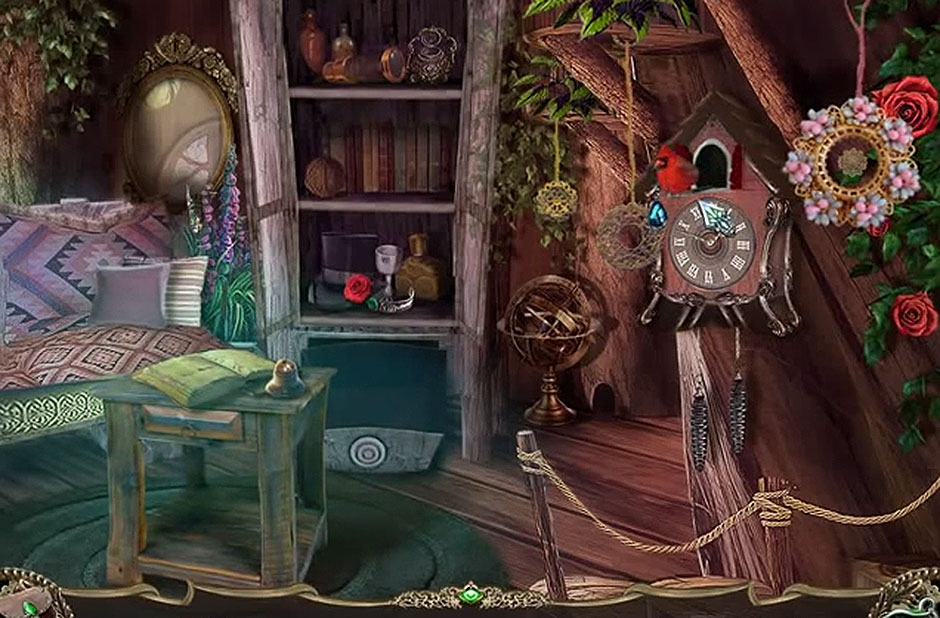
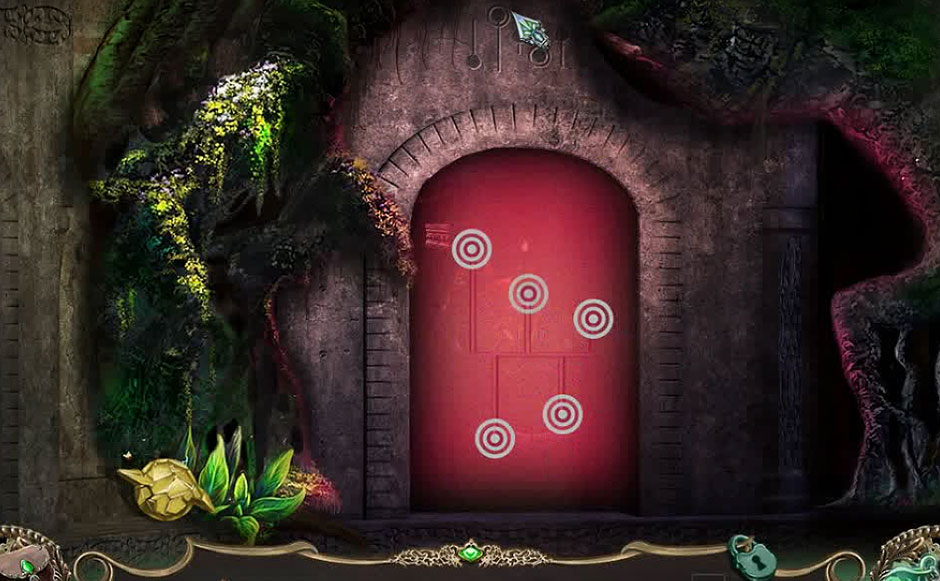
• Use Poker to get Keys under cabinet. Use Keys to unlock cabinet. Get Cheese and place in front of mouse hole. Pick up Target where Cat had been and use it as a drawer knob. Retrieve Clock Hands and place on clock face. Collect Earring.
Amy’s Room
• Zoom in on hole in floor. Use Earring to retrieve Balcony Door Key.
• Use Balcony Door Key to unlock balcony.
• Click on the Book. This is your Journal.
• Zoom in on telescope. You need to find telescope Handle.
• Retrieve telescope Handle from hollow in tree in Amy’s Room.
• Return to Balcony and zoom on telescope to place Handle.
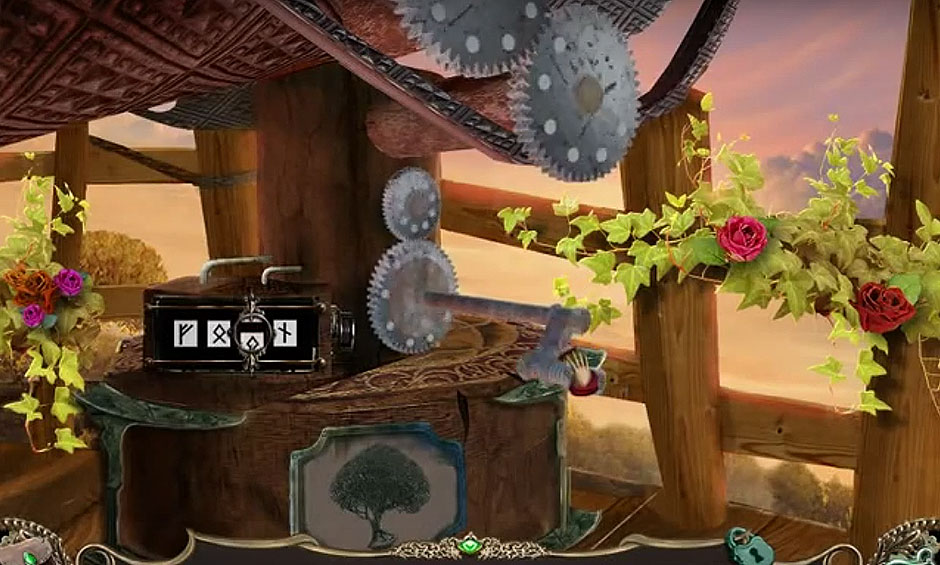
• To enter combination, click on symbol you want to change then click Handle until correct symbol appears.
• On telescope, adjust sliding levers until picture is clear.
• TIP: On bottom left is an indicator with four lights. When a lever is placed correctly, the corresponding color stays lit.
• When levers are correct, the focused picture shows four glowing symbols.
Amy’s Room
• Click on circular window on far wall.
• Zoom in on what fell.
• Find all the pieces shown at bottom of screen to get Jewelry Box Rings.
• Zoom in on Book Shelf and pick up jar of Glue.
Downstairs
• Pick up red Fan on wall.
• Zoom in on Jewelry Box and pick up Dagger.
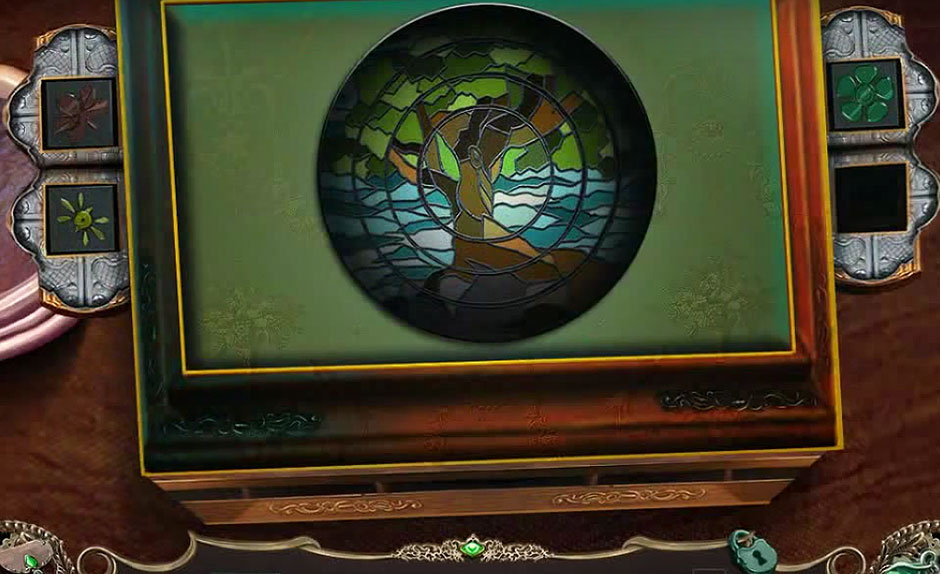
• Place Rings and slide them until a picture forms and four slots pop out.
Amy’s Room
• Use Dagger to cut string on hanging ornament.
• Zoom in on broken pieces on floor.
• Click and drag broken pieces to create four Symbols of the Seasons. Use Glue to seal them.
Downstairs
• Zoom in on Jewelry Box.
• Place Symbols of the Seasons according to your journal.
• Move items to side to uncover Necklace. Exit through door.
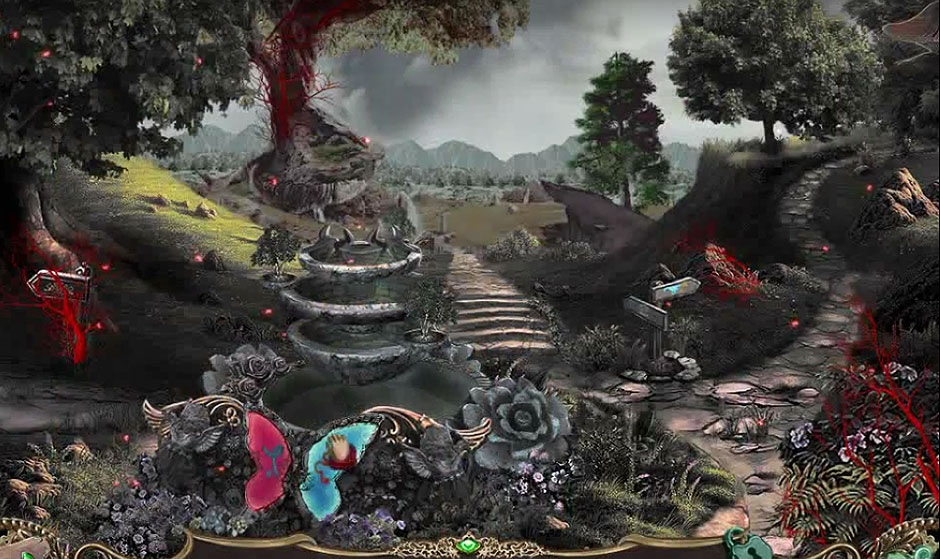
Central Fountain
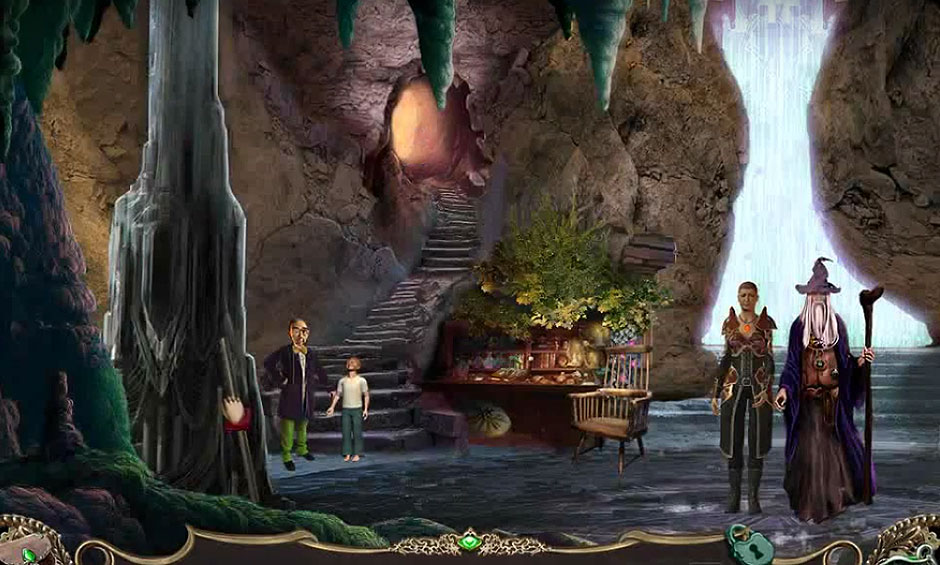
• Talk to Elder.
• Turn left to find Dragon.
• Click on Plank on bridge then turn around.
• Zoom in on Direction Arrows and pick up post box Handle.
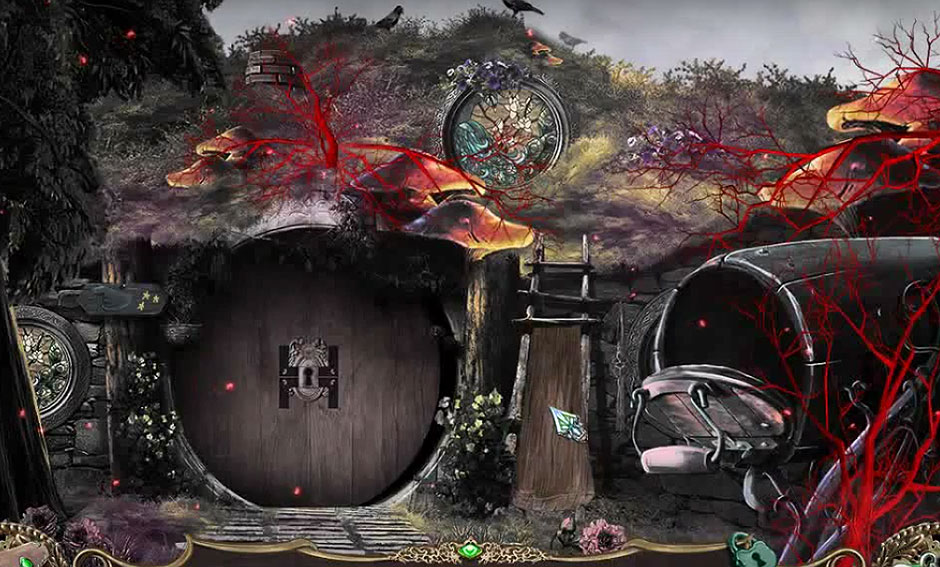
• Turn right towards Hanu’s House.
Hanu’s House
• Click on Toolbox
• Pick up Hammer
• Go inside Hanu’s House
• Find items shown at bottom of screen. Use Oil on Furnace Door. Use Crowbar to open Chest.
• You are rewarded with Garden Shears.
• Continue up path to Elder’s house.
Elder’s House
• Use Garden Shears to cut Pythenian Vines.
Hanu’s House.
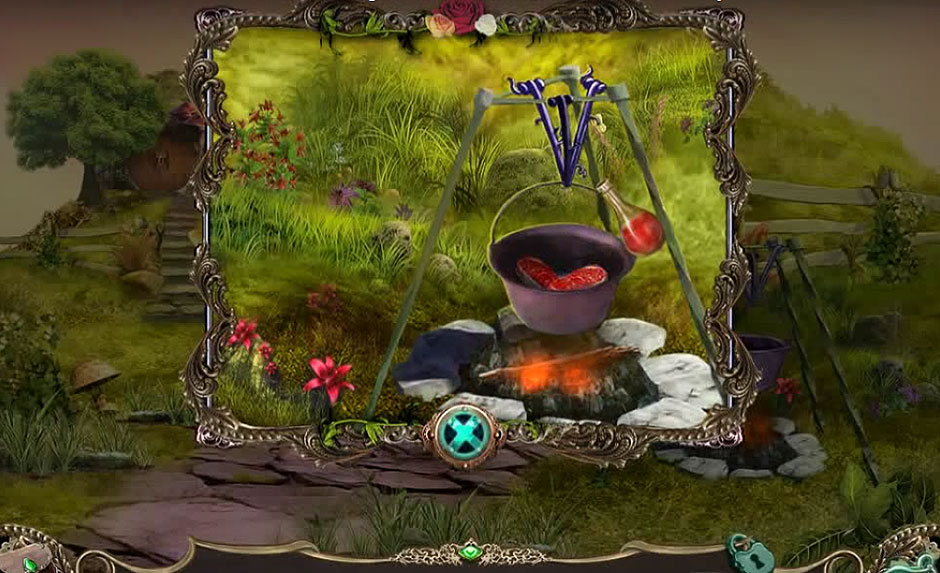
• Zoom in on fire pit and use Pythenian Vines as a hook.
• Place Plank in fire and use Fan to get flames going.
Elder’s House
• Place Handle on post box.
• Click on Ladder and use Hammer to remove Nails.
• Use Nails and Hammer to secure Handle. Open Post Box.
• Collect Sleeping Potion.
• Pour Sleeping Potion on cooking meat. Pick up Grilled Special Meat.
• Go to Dragon and give him Grilled Special Meat.
• Continue down path to Madame Everwind’s House.
Madame Everwind’s House
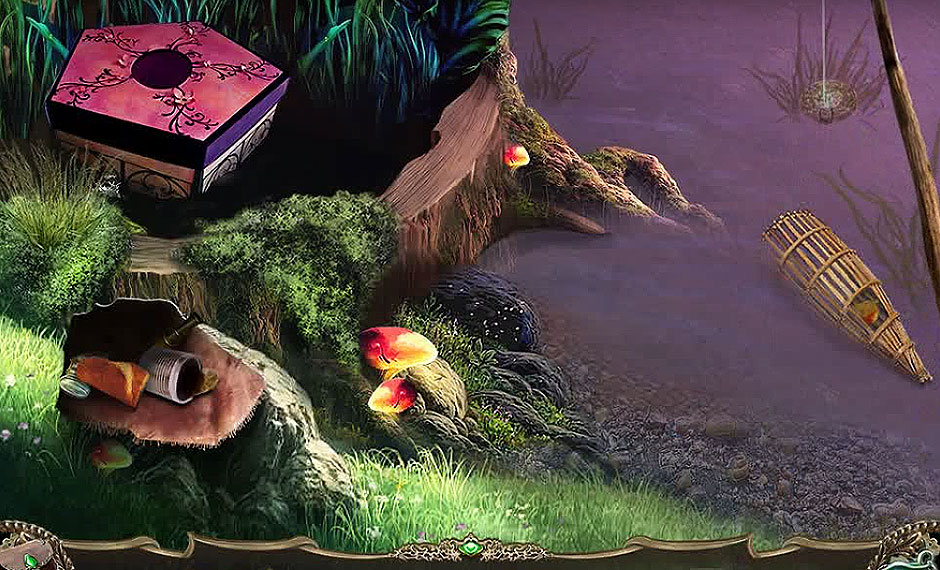
• Zoom in on Old Stump and find items shown at bottom of screen.
• Use Screws to tighten Sickle handle. Use Sickle to open bag.
• Collect Fishhook and Scrap of Bread.
• Place Scrap of Bread into fish trap
• Attach Fishhook to end of line. Use Fishing Rod to collect Emblem from water.
• Place Emblem in five-sided box and retrieve Pearls.
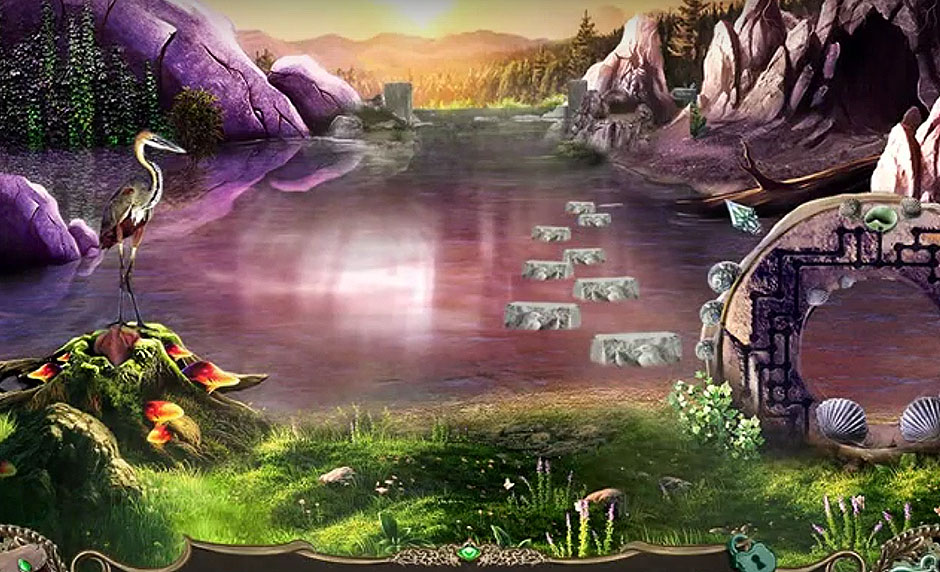
• Zoom in on Wheel Entrance Way.
• Place Pearls on board. Turn wheel left or right to drop Pearls, which raises path to Madame Everwind’s House.
• Enter Cave and talk to Madame Everwind.
• Go up steps in back of cave and find Thistle.
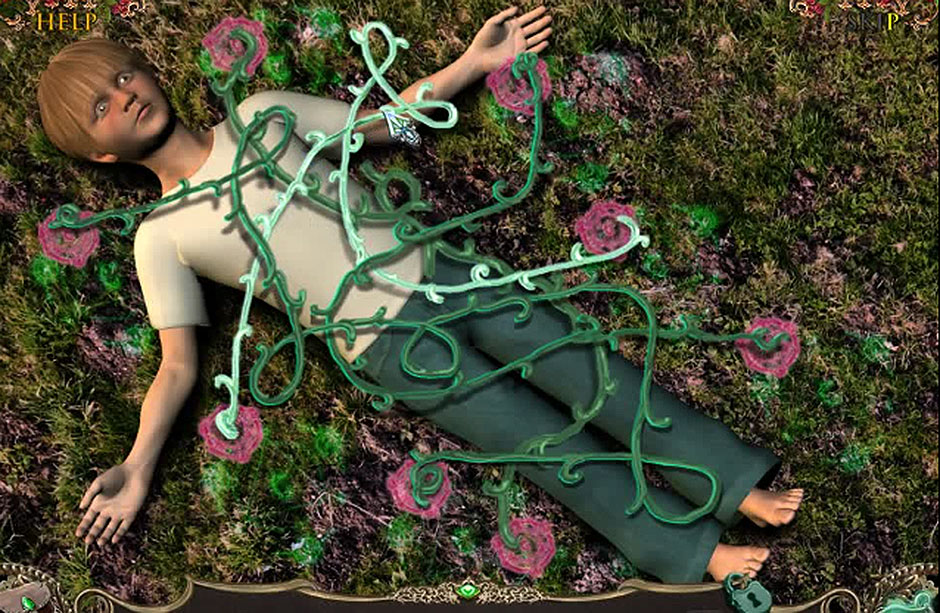
• Click on each end of a Poison Vine to remove it.
• Talk to Madame Everwind. Zoom on work table to collect Net.
• Return to Amy’s House.
Amy’s Room
• Zoom in area by window and find objects listed at bottom of screen to receive three Books.
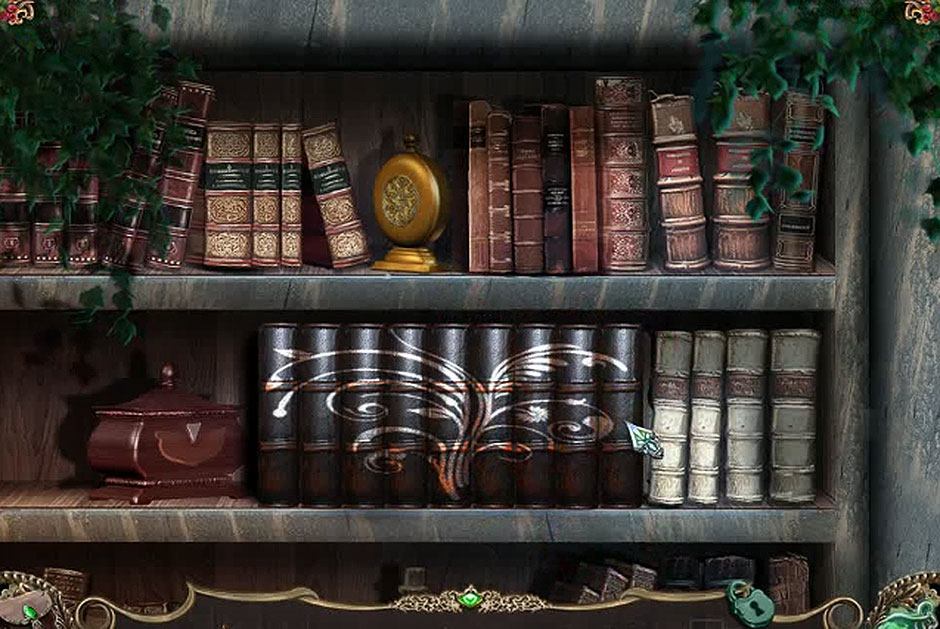
• Zoom in on Bookcase and place Books on shelf.
• Swap any two Books to form a picture.
• Bookcase opens, revealing a secret compartment.
• Collect Wizard’s Potion Recipe, Cup and Glove.
Downstairs
• Zoom in on Fishbowl.
• Use Glove to retrieve Hydralis Plant.
Sleeping Dragon
• Zoom in at base of bridge to collect Mushrooms.
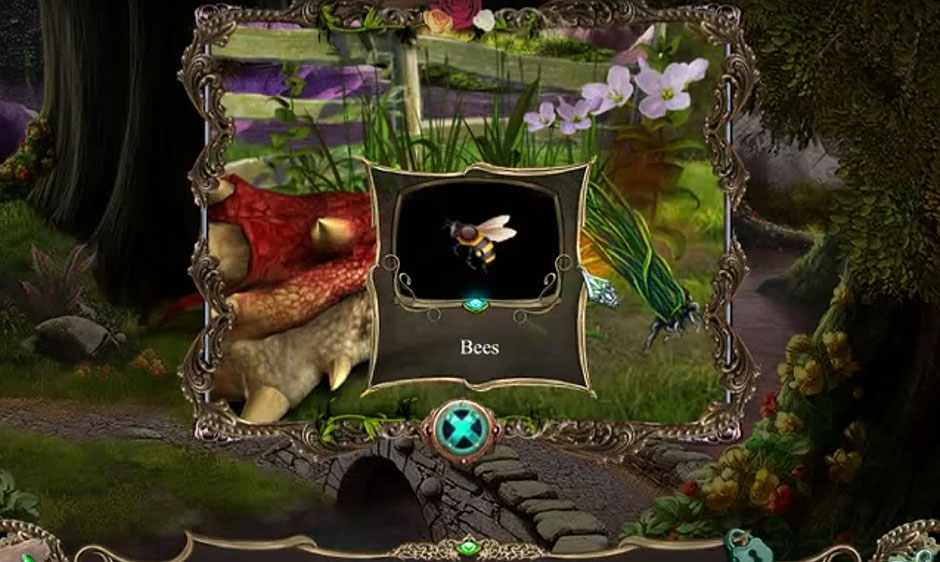
• Zoom in on Dragon and place Poison Vine in front of Dragon’s mouth to collect Bees.
Madame Everwind’s House
• At cave entrance, turn left.
• Place Bees on Windmill Flower.
• Use Net to retrieve Windmill Flower.
• Zoom in on Madame Everwind’s work area.
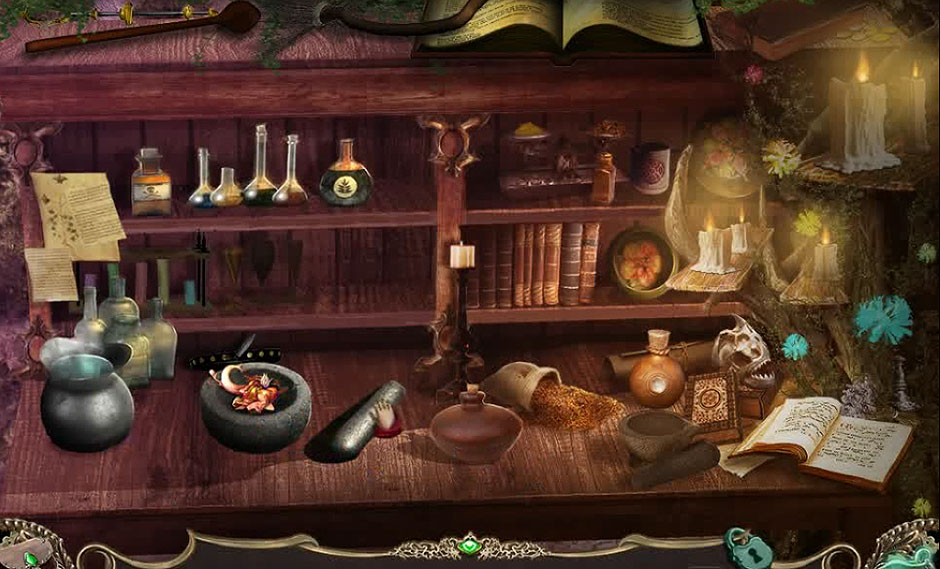
• Place Mushrooms, Hydralis Plant, and Windmill Flower in Mortar.
• Pick up Pestle to grind ingredients.
Hanu’s House
• Talk with Elder. He gives you Keys to his house and Wizard’s Potion Recipe.
Elder’s House
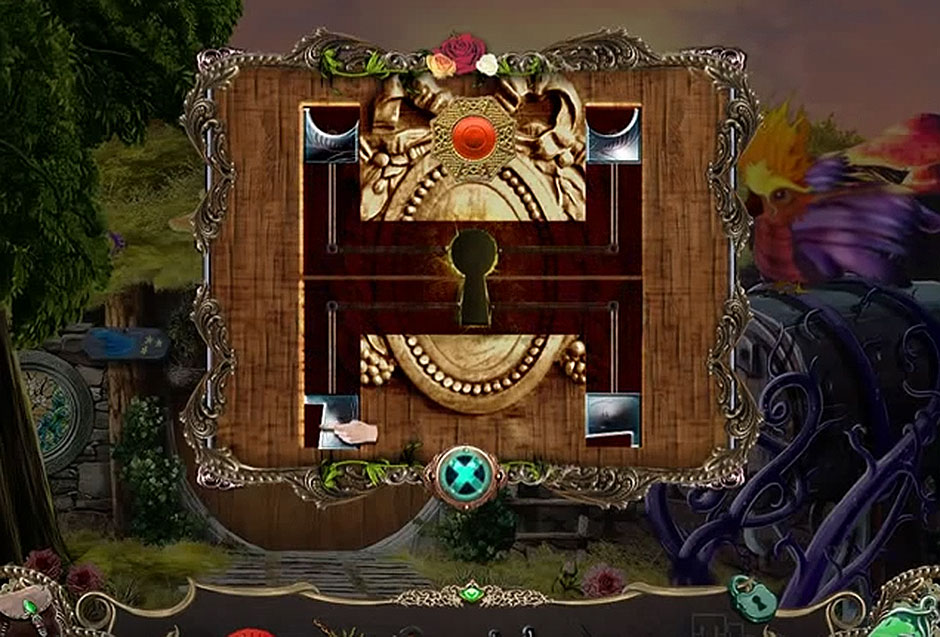
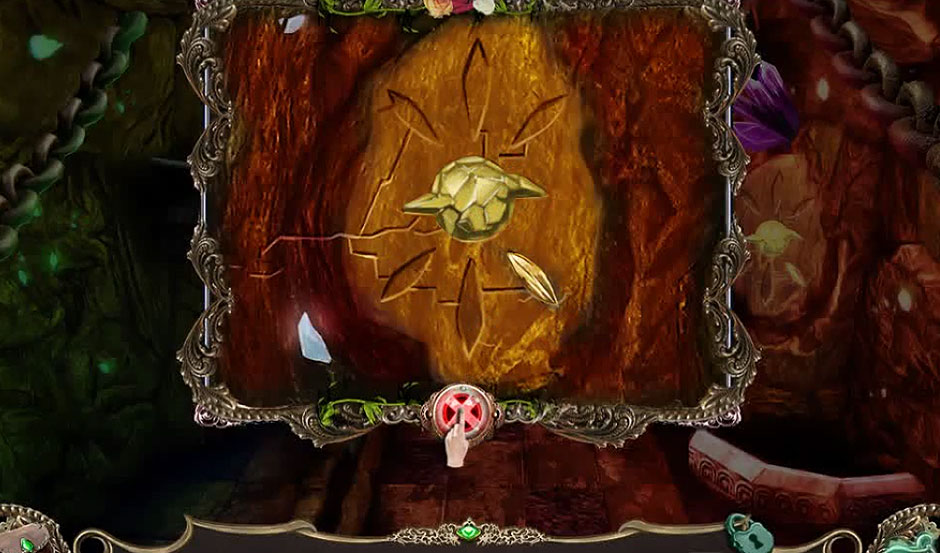
• Zoom on Elder’s door. To create lock, bring the four pieces together so they form a key hole. Click on a square to rotate it. Click Red Button to bring pieces to center of lock.
• When you form Lock, place Elder’s Key into lock and enter.
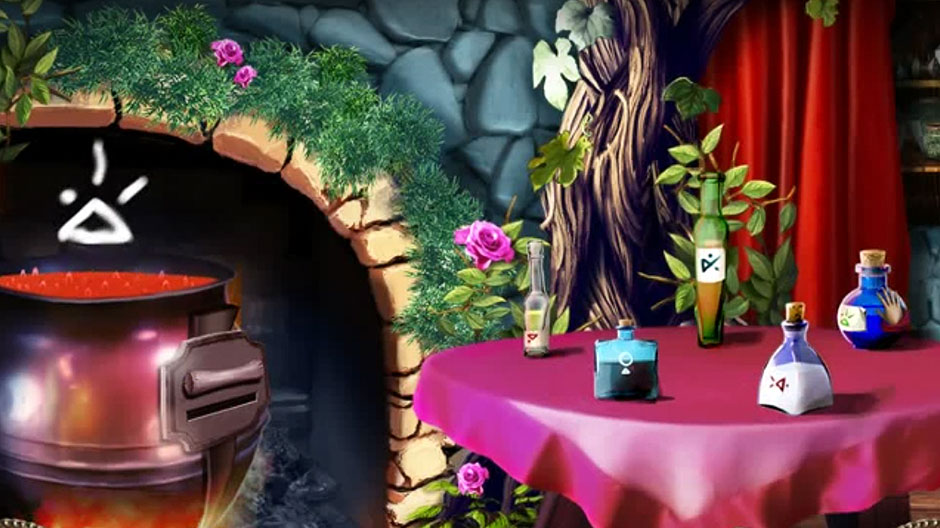
• Open Curtain at back of Elder’s House. Zoom in on shelves and collect Bottles.
• Zoom on Cauldron. Place Bottles on table and put Recipe in Slot.
• Get Candle from shelf above Desk and light it in fire pit at Hanu’s House.
• Use Lit Candle to light fire under Elder’s Cauldron.
• To make potion, Bottles must be added in the correct order. Note the smoke signals that form over cauldron, and also note the symbols on the labels of Bottles. Find Bottle that matches each smoke signal and add that Bottle to Cauldron.
• Collect Wizard’s Potion with Mug.
Madame Everwind’s House
• At work desk, pour Wizard’s Potion into Mortar that has other ingredients.
• Pick up Healing Potion and give to Thistle.
Wizard’s Path
• Zoom in on Rock Shelter and pick up Blue Sphere and Machete.
• Talk to Elder.
• Collect Blue Sphere on right.
• Use Machete to cut vines on left. Collect Blue Sphere.
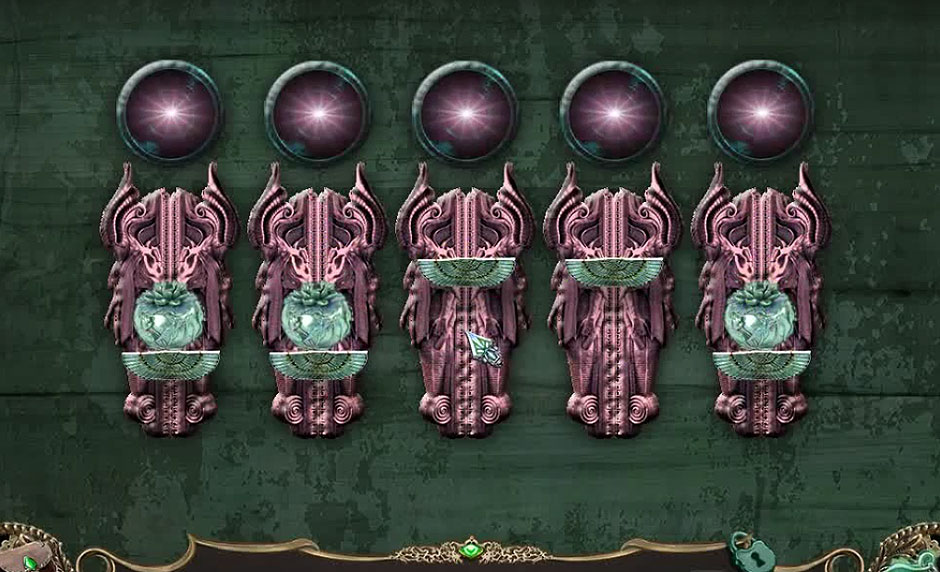
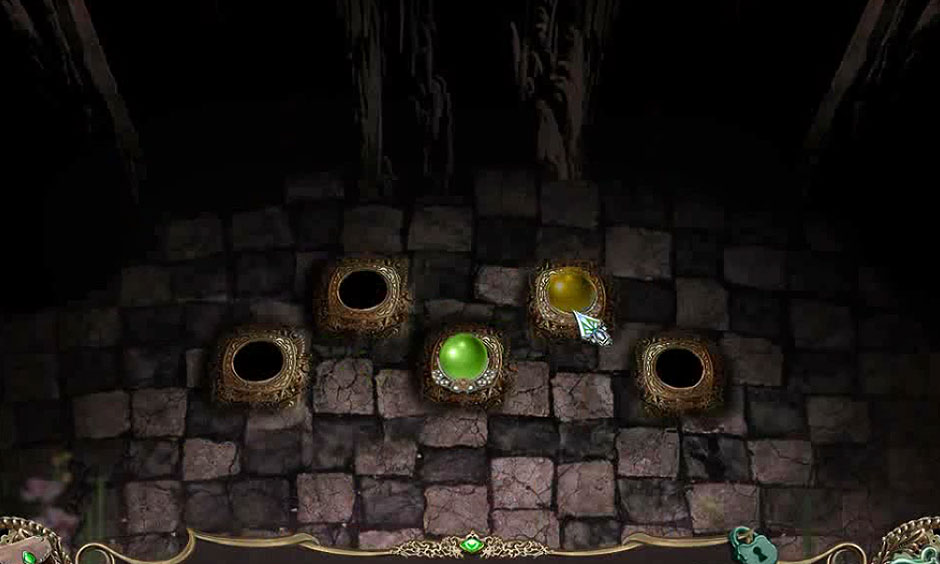
• Place Blue Spheres on gate. Arrange Spheres so that all lights are lit.
• Pass through gate to enter Land of the Ancient Ones.
Land of the Ancient Ones
Entrance
• Zoom in on Ledge and retrieve Elevator Button.
• Collect Spring and Autumn Symbol Plates.
• Place Elevator Button in empty socket and press.
• Click on Elevator to go down.
Center Island
• Collect Winter and Summer Symbol Plates.
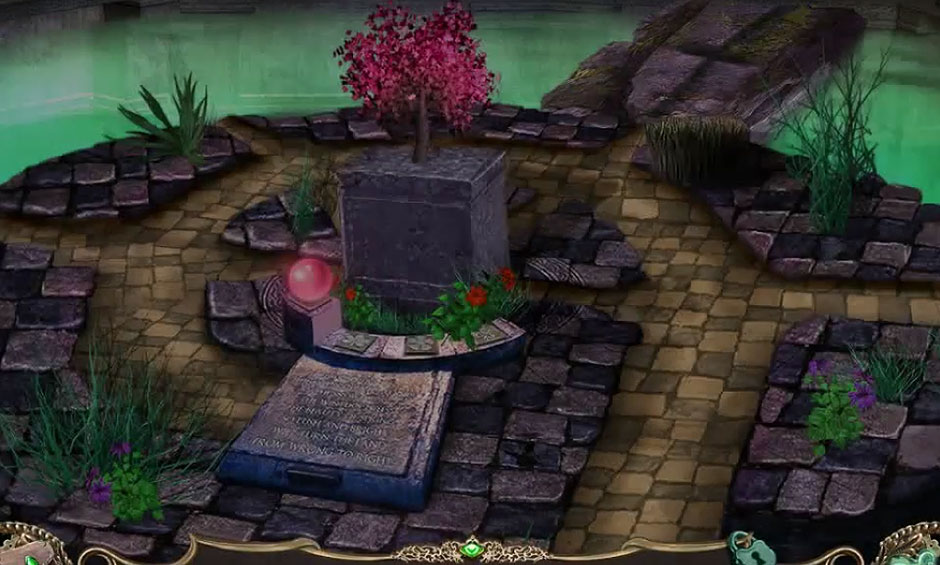
• Use Machete to cut Grass. Use Grass to sweep dirt from Tablet. TIP: You will need to sweep several times to completely clear away dust.
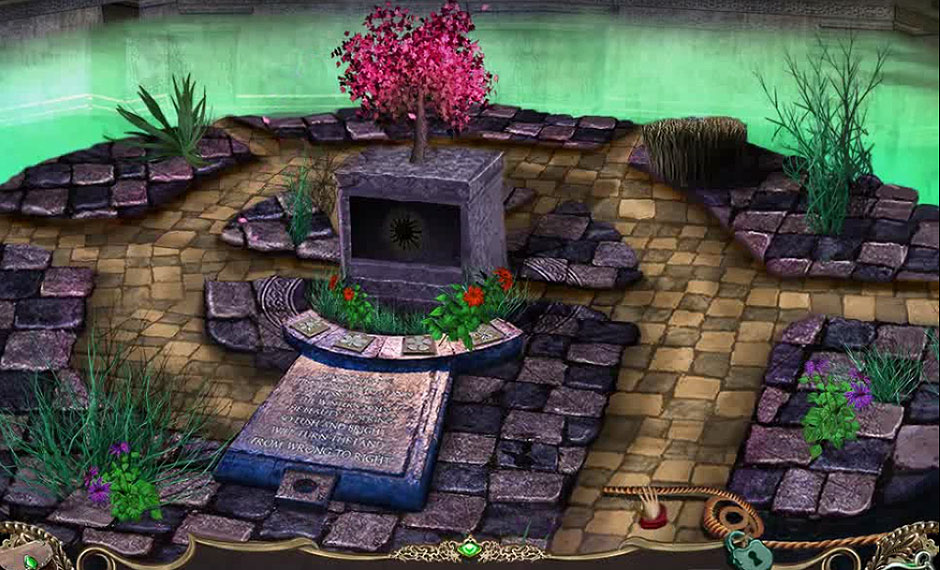
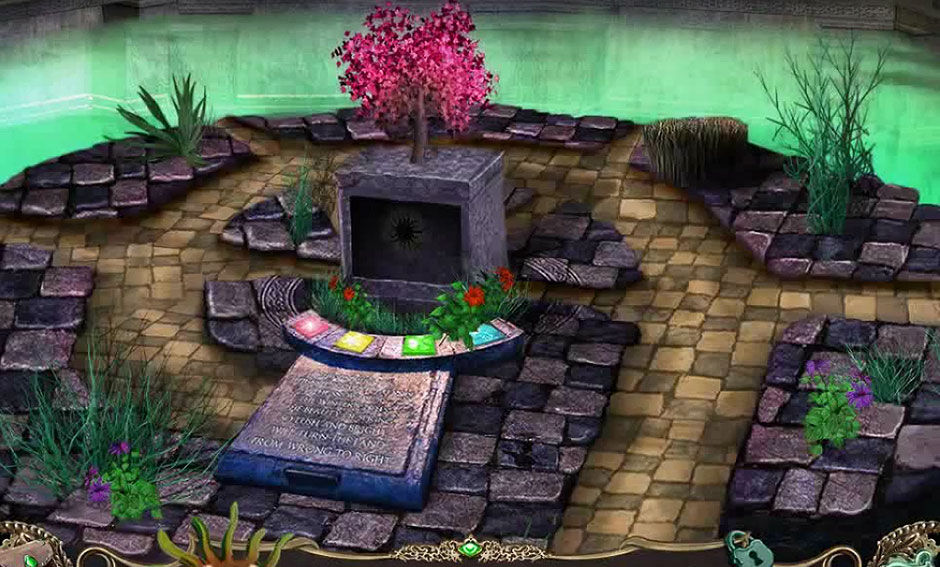
• Zoom in on Tablet. Use clues in Epitaph to place Symbol Plates in the correct order.
• Cross bridge and pick up the Summer Symbol Crystal. Use clue above door to solve door puzzle.
Summer Island
• Zoom in on lighted area. Place Sun Symbol Crystal in pattern.
• Collect Summer Symbol Crystal in groove on floor.
• Turn left and find items shown on bottom of screen Use Hammer to clang bells.
• Use Bucket to collect Summer Symbol Crystal from Well.
• Fill Bucket under falling water.
• Zoom in on planter on wall. Pour Bucket of water in and collect remaining Summer Symbol Crystals.
• Zoom on right wall to place all Summer Symbol Crystals.
• Cross bridge and go up steps towards Globe machine.
• Pick up Wooden Star. Return to Steps.
• Zoom on left of stairs to place Wooden Star.
• Pick up Valve. Go upstairs.
• Zoom in on dark object between pillars.
• Put Valve in place and click to turn it.
• Turn right. Find objects indicated at bottom of screen, using Sling Shot to shatter Greek Vase and collect Golden Disc.
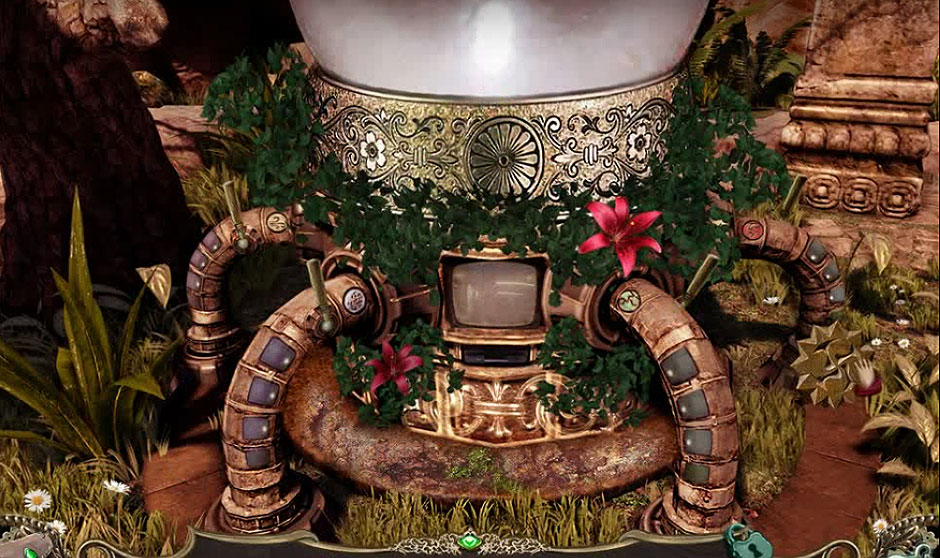
• Return to Orb Machine and place Golden Disc into slot under TV screen.
• Use chart to solve puzzle. Collect Orb.
• Return to bridge and Zoom in on right side of Arch.
• Rotate stones by clicking on them to form a picture of Summer Symbol.
Center Island
• Place Orb where indicated by red glow.
• Cross bridge to Autumn door. Collect and place pieces of Leaf.
• Pick up Metal Rod beside door and enter Autumn Island.
Autumn Island
• Pick up Basket.
• Zoom on fire bowl on right and find objects indicated on bottom of screen. Use Crowbar to loosen plate on floor. Use Shovel to dig in dirt. Pick up Key. Use Key in lock. Pick up Sickle to cut grass, revealing Four-leaf Clover Button. Place Clover in base of fire bowl. Collect Ring.
• Move forward to center pedestal. Pick up Stone and Hook.
• Place Ring on Pedestal. Go to Archway.
• Place Hook on chain. Place Basket on Hook. Place Stone in Basket.
• Pick up Ring and Stone that appear in empty slot. Place second Stone in Basket.
• Pick up Torch. Move forward.
• Light Torch in fire bowl. Use Lit Torch to light fire bowl on left. Pick up Ring.
• Place Rings on Pedestal. Use Metal Rod to turn pedestal mechanism. Pick up Orb.
Center Island
• Place Orb on Pedestal. Go to Spring Door.
• Click to slide upper block on left down, revealing a round hole.
• Click on sliding block on left to reveal Orange Ball. Pick up Orange Ball and place it in hole on right.
• Click to slide block on left to reveal Keyhole.
• Click on sliding blocks on right to move them both up, revealing a Key.
• Use Key in Keyhole, which reveals round Plates and unlocks puzzle. Place all Plates onto puzzle.
• Pick up Orb and spin lever on door. Return to center and place Orb on pedestal.
• Cross bridge to Winter Door and pick up green Diamond.
• Zoom in on door and arrange pieces to form a snowflake. TIP: Pieces will lock when placed correctly.
Winter Island
• Find Weak Spot on dome and cut it with Diamond. Enter Dome and pick up Bucket.
• Return to Doorway. Collect water with Bucket.
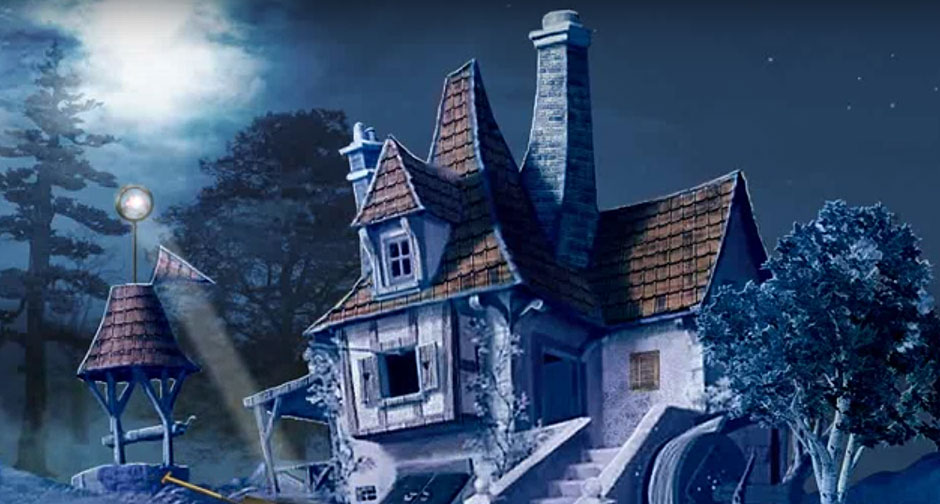
• Enter Dome and go up steps all the way to the House.
• Collect Pick Axe. Go down one level to enter Castle.
• Enter Castle and use Pick Axe to remove Crystals from wall.
• When your Pick Axe breaks, pick up Wooden Handle.
• Leave Dome and place Wooden Handle on Spade and collect Spade.
• Return to Castle Entrance. Collect pieces of Ring and place in depression. Pick up Spy Glass.
• Leave Dome and use Spy Glass to view top of Dome. This clue is recorded in your Journal
• Go in Dome and all the way up to House. Zooming on Window unlocks minigame.
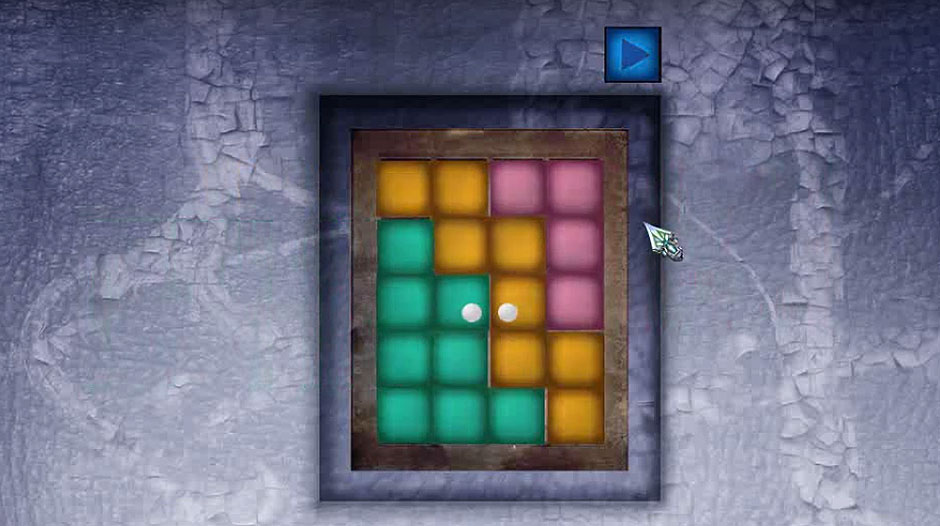
• Rotate pieces then click on blue arrow to slide them in. Keep rotating until all pieces fit on game board with the two white dots in the middle.
• Darken panes as indicated in your Journal, which reveals how to activate Old Well.
• Pour Bucket of water into Old Well. Enter Castle and use place empty Bucket on floor. Use Spade to scoop Crystals into Bucket and pick up Bucket with Crystals.
• Pour Bucket with Crystals into Well. Use Spade to dig in Special Spot.
• Zoom in on Special Spot, open Tool Box. Pick up Lever.
• At Bottom of Stairs, place Lever in slot on right. Click Lever to raise sign with Symbol. The Symbol is recorded into your Journal.
• Enter Castle. Click on door to activate puzzle. Click on stars according to pattern recorded in your journal.
• Pick up Orb and return to Center Island.
Center Island
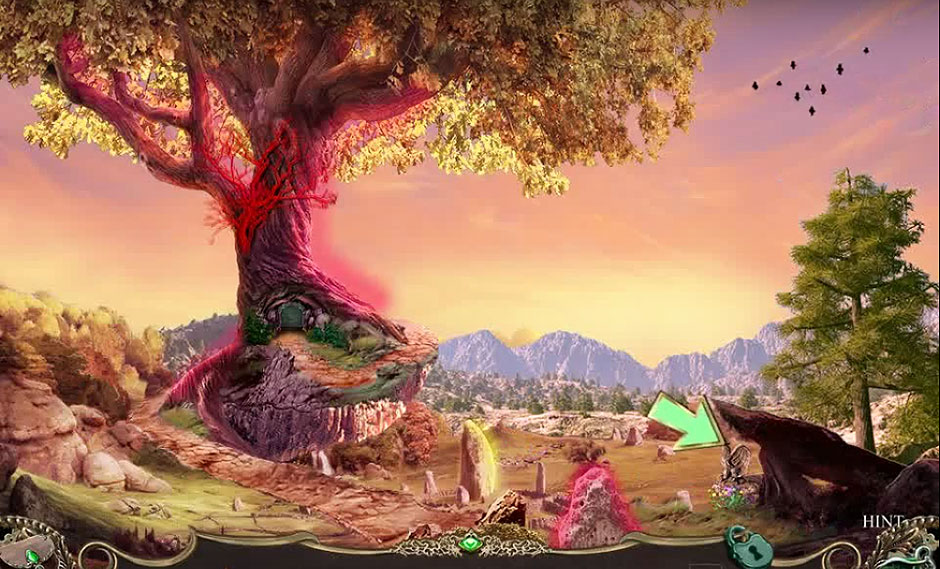
• Place Orb in pedestal with blue glow, which opens secret door at base of Tree.
• Place Necklace into depression.
• This released The Darkess, which destroys the Elevator.
• Collect four Orbs. Click on rope to fasten it to plaque. Turn around to climb rope.
• Zoom in on Sun Symbol button to turn it off. This slides plaque to reveal a dark passage.
• Click to enter dark passage.
Amy’s World
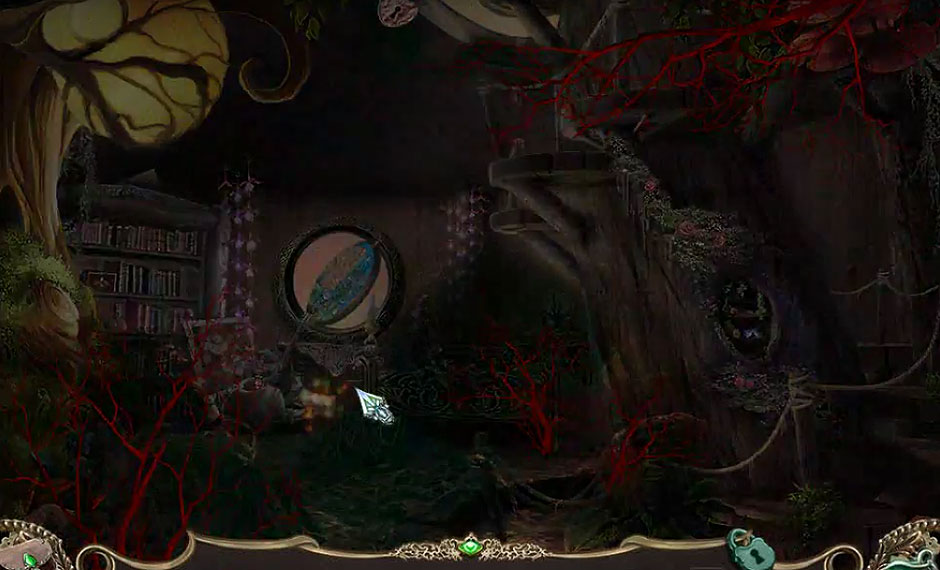
The passage is a portal returning Amy to Madame Everwind’s House in Amy’s world.
Madame Everwind’s House
• Talk to Elder.
• Pick up Staff part.
• Zoom in on work desk and pick up Staff part on shelf.
• Go upstairs to where Thistle was. Zoom in on rock and collect last part of Staff.
• Return to work desk and assemble Staff.
• Go upstairs and touch Staff to correct symbol, which summons Dragon.
Throne Mountain
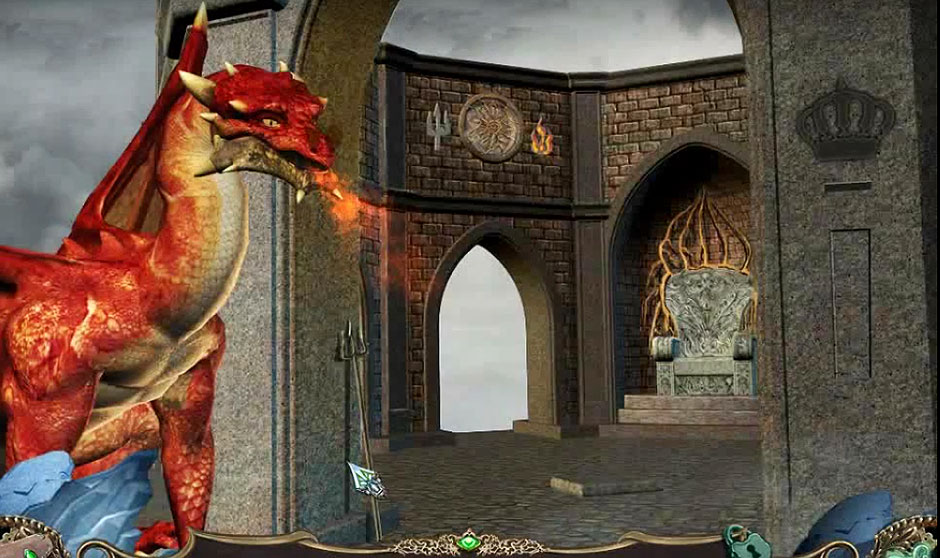
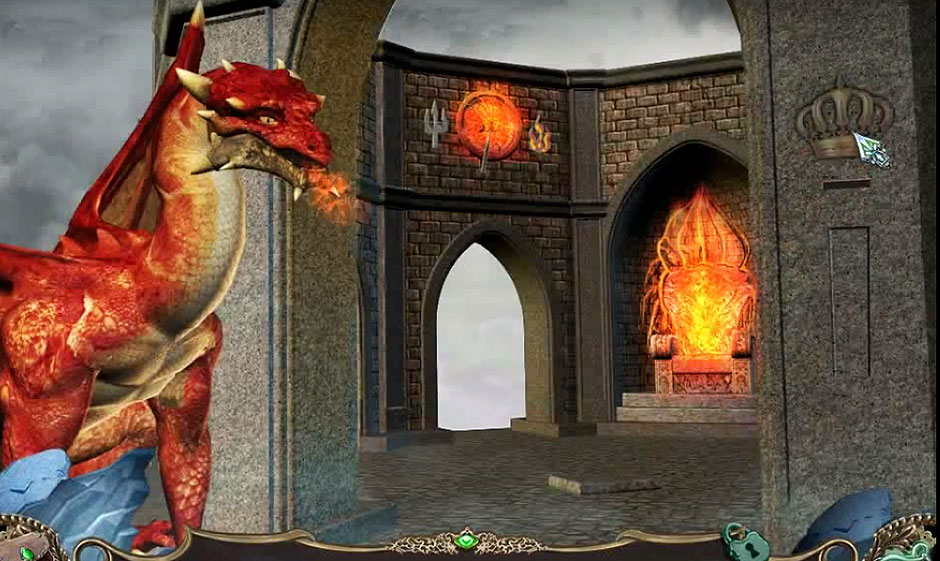
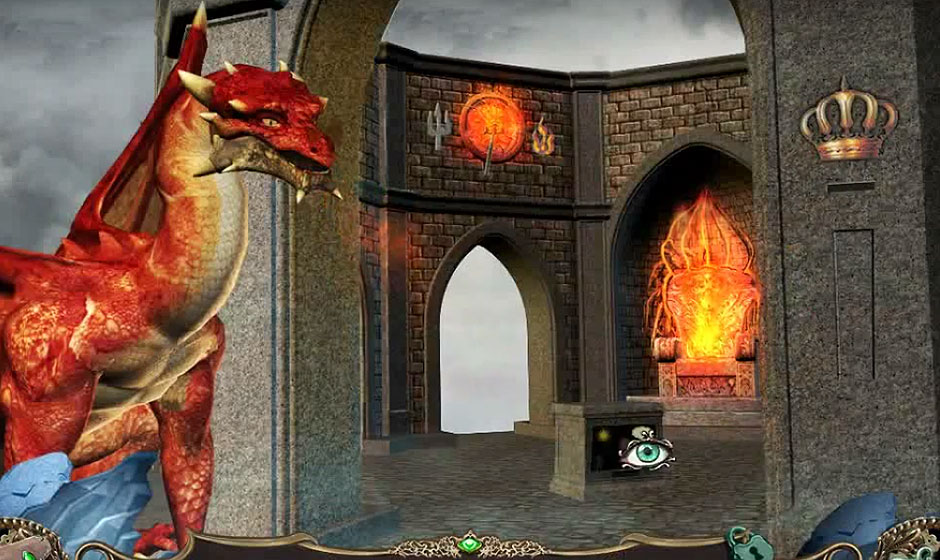
• Pick up Trident.
• Dip Trident in container of Tar beside Stone Throne.
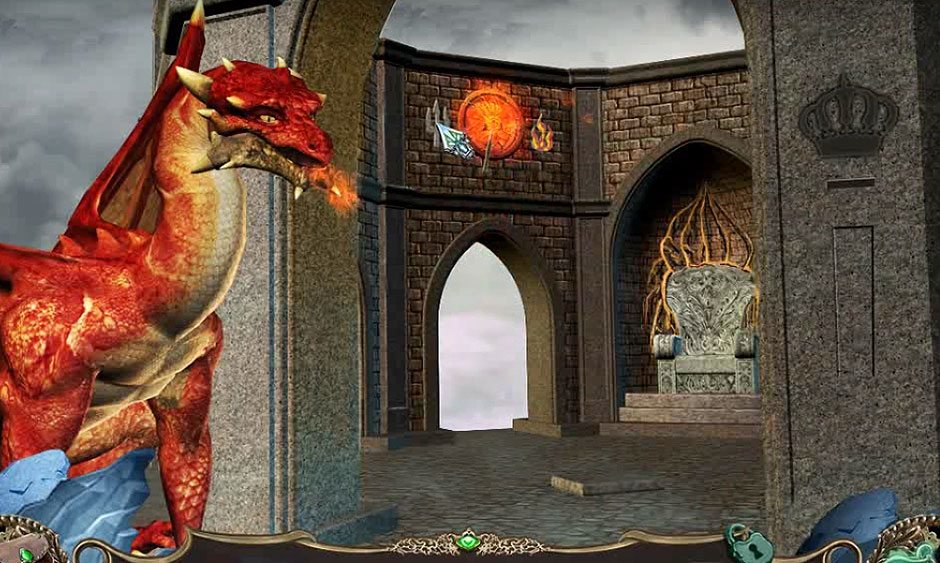
• Hold Trident in front of Dragon to light it.
• Touch burning Trident to symbol between Trident and Flame.
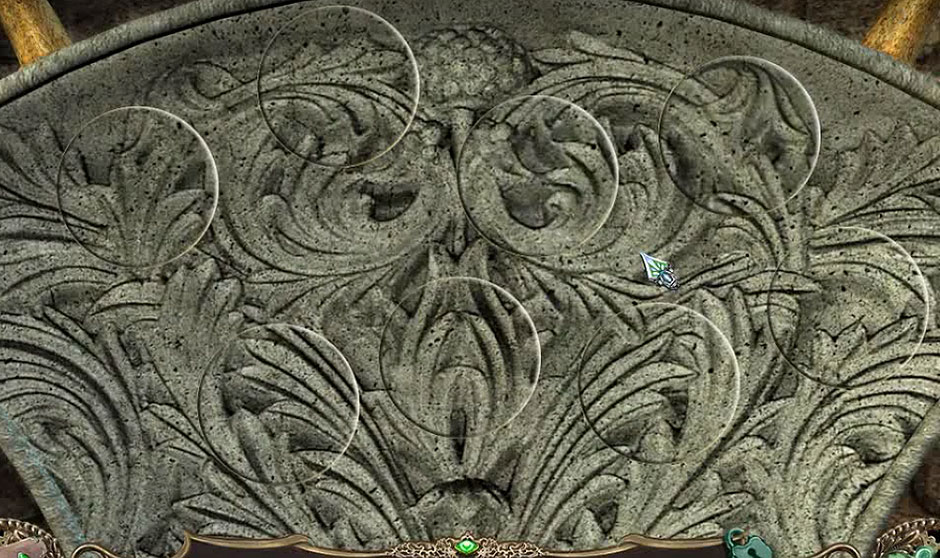
• Zoom in on Throne to collect and place pieces of the Crown.
• Swap circles to form a picture.
• Collect Crown and place on Throne.
• Collect completed Crown and place on wall.
• Zoom in on newly opened pedestal.
• Collect pieces shown at bottom of screen. Move Cloud to reveal Circle. Place Circle above Triangle. Collect Keyhole Shape. Place Spear in Warrior’s hand. Place Keyhole Shape on figure on left. Collect outline of Sword and use it to cut Balloon string. Click on Spear to shoot at Balloon. The sunlight opens secret chamber to reveal Triangle Button. Place Triangle Button on top of frame and collect Coin.
• Place Coin in slot below where you placed the crown and collect Map.
Amy’s World
You are transported to the entrance to Madame Everwind’s House.
• Zoom in on blocked entrance and collect Big Boom Bottle.
Hanu’s House
• Pick up Scythe. Go to Elder’s house.
• Zoom in on shelves and move items to find Big Boom Potion Recipe.
• Insert Big Boom Potion Recipe into Cauldron and pour bottles on table according to smoke signals.
• Use Big Boom Bottle to collect Big Boom Potion.
Madame Everwind’s Entrance
• Turn left to see dam and place Big Boom Potion in front of dam.
Hanu’s House
• Enter Hanu’s House and collect Hidden Object items to assemble a Crossbow.
Madame Everwind’s Entrance
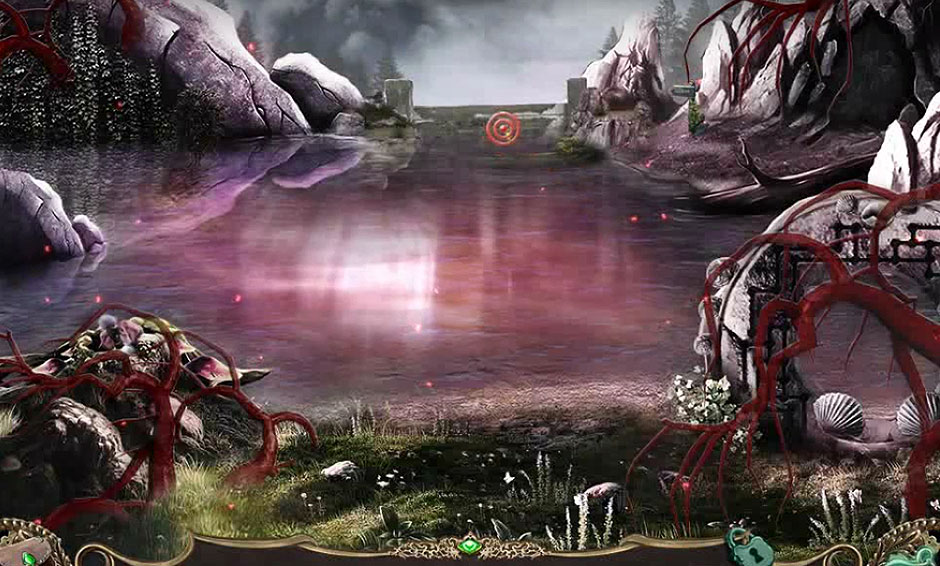
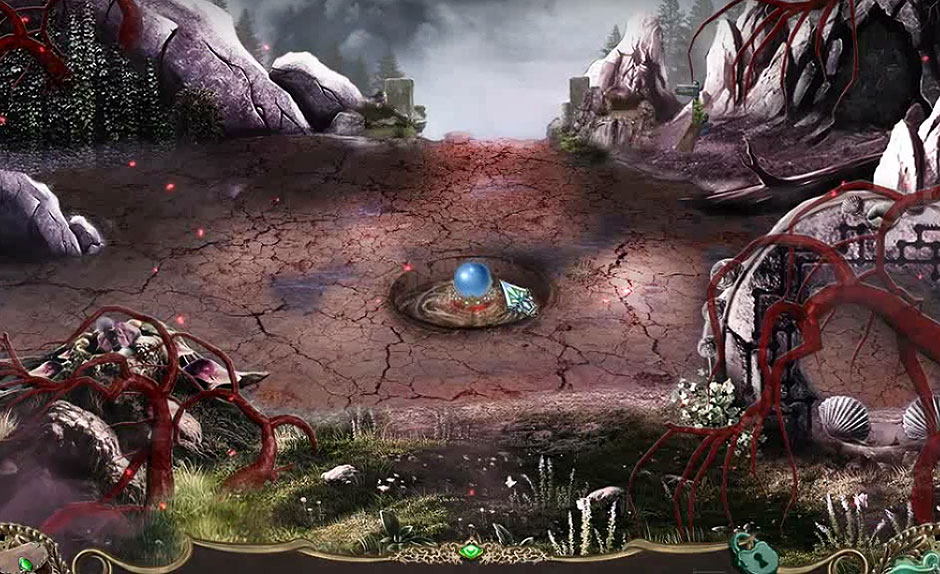
• Select Crossbow, aim red target on Big Boom Potion Bottle.
• Place correct color Orb on lake bottom.
• Collect Blue Butterfly Wing.
• Cross lake bed and collect Plank.
Elder’s House
• Place Plank on Ladder. Climb to top of house.
• Mow grass with Scythe to reveal Orb Base and place correct color Orb.
• Collect Red Butterfly Wing.
Central Fountain
• Place Red and Blue Butterfly Wings. Note symbols on Wings.
• Consult Journal for correct code for clicking on Butterfly Wings.
• Place remaining Orbs according to map in Journal.
• After Cut Scene, move toward The DARKNESS.
• Click on image of Mother and collect Necklace.
• Study Attack Symbols.
• Click on correct symbols to Attack. Cut Scene of Amy indicates that you attacked correctly.
Study Defend Symbols and click on those to Defend against The DARKNESS.
• Launch your final attack to defeat The DARKNESS.
• Zoom in on Pedestal.
• Place necklace in center.
Congratulations, you’ve completed our 7 Roses – A Darkness Rises Walkthrough! You have saved the world from The DARKNESS. As Life returns, enjoy the blooming flowers and flitting butterflies.
For more great tips and tricks, visit our blog!
The 7 Roses – A DARKNESS Rises Walk through is meant as a guide and does not contain cheats, hacks or serials.
The post 7 Roses – A Darkness Rises Walkthrough appeared first on GameHouse.
