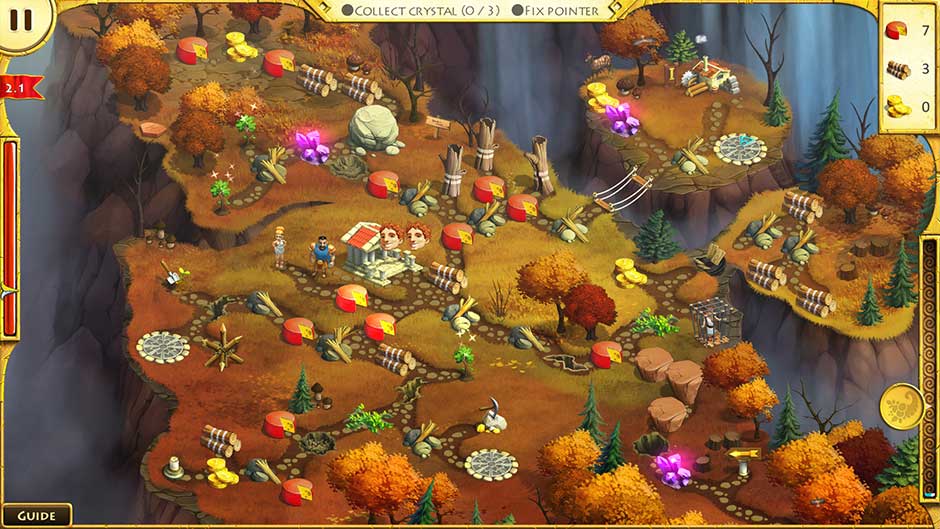
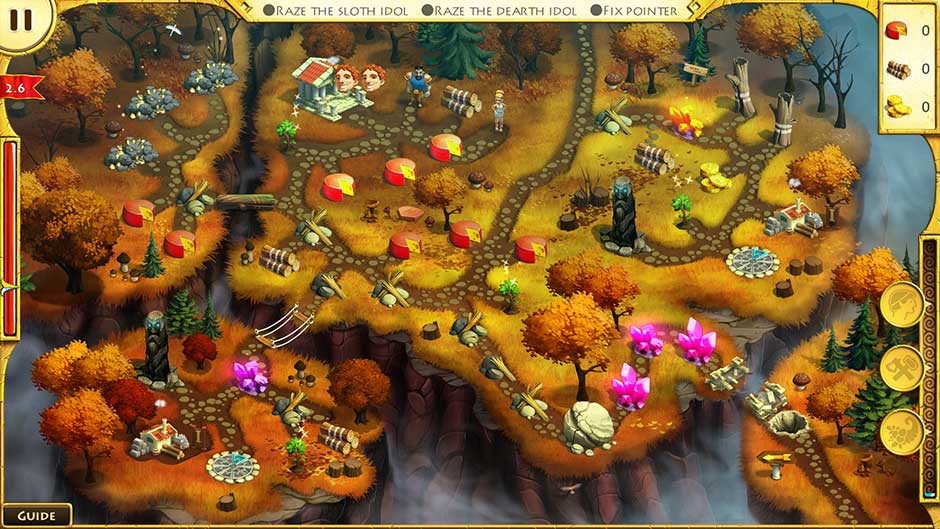
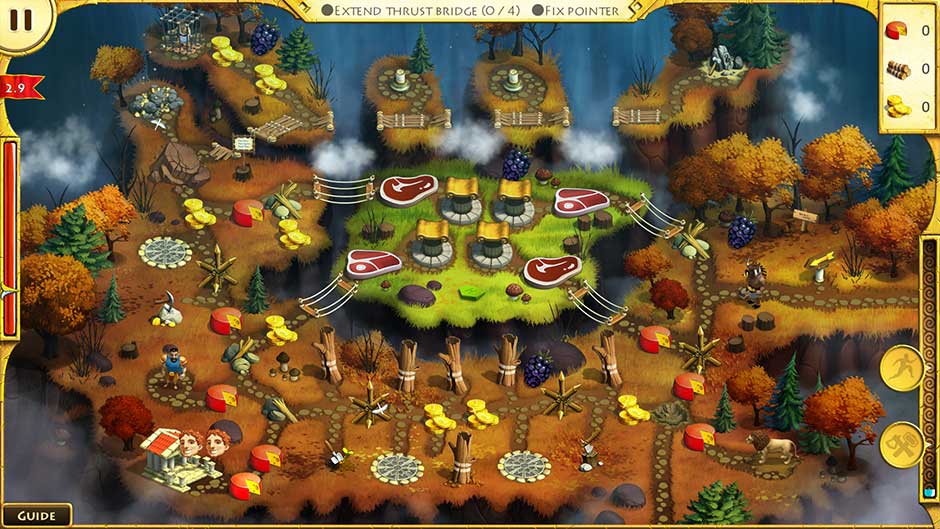
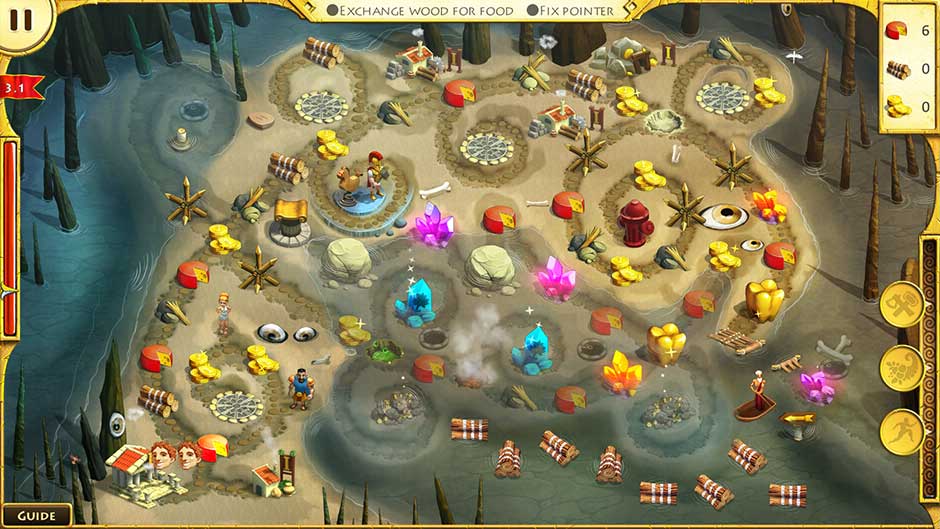
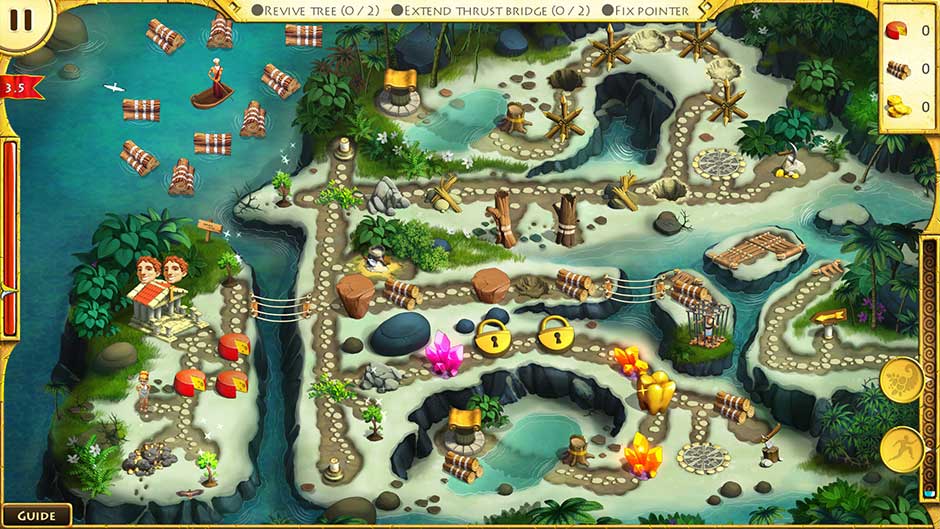
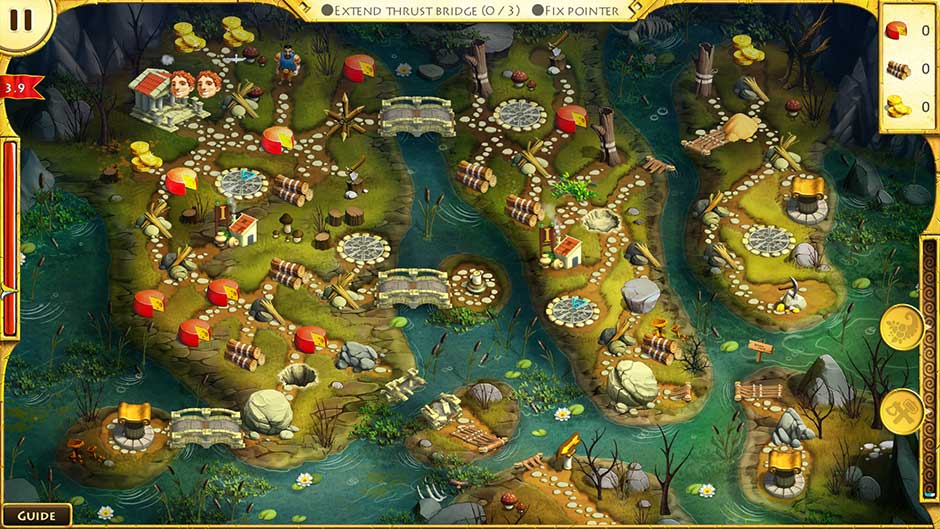
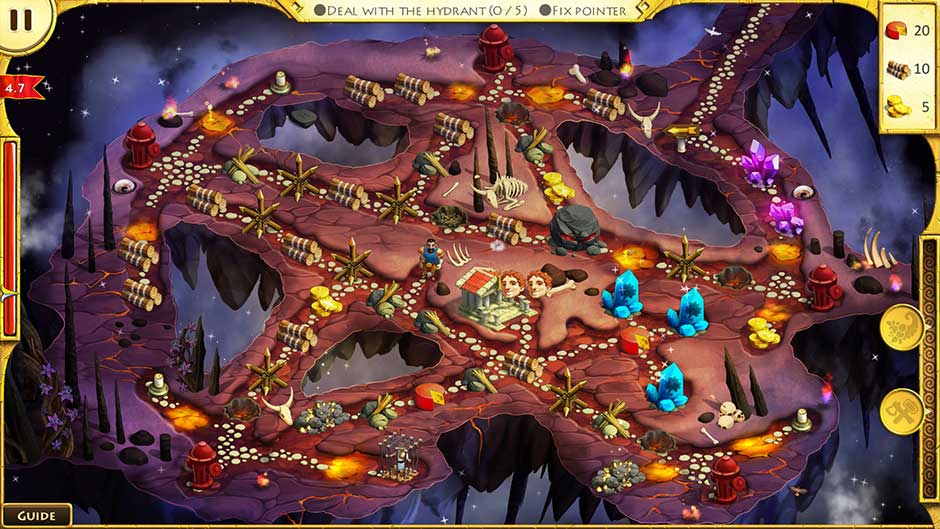
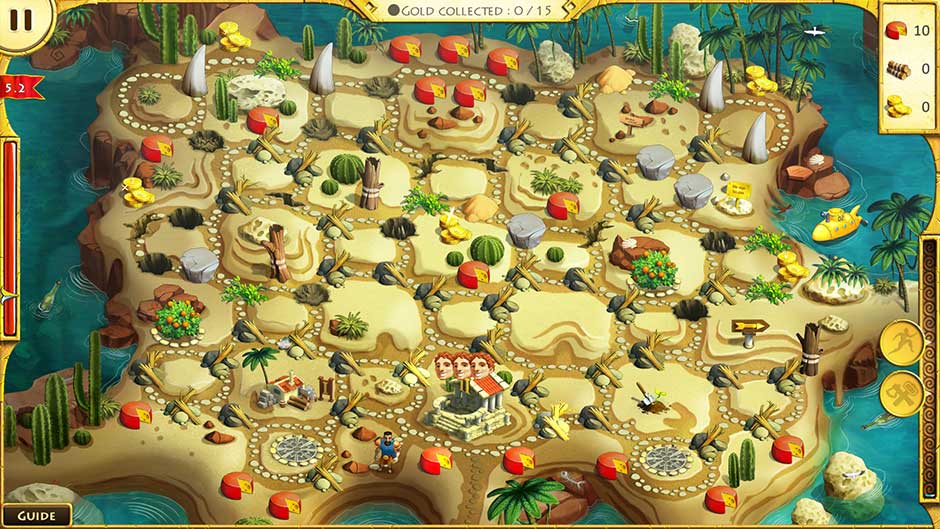
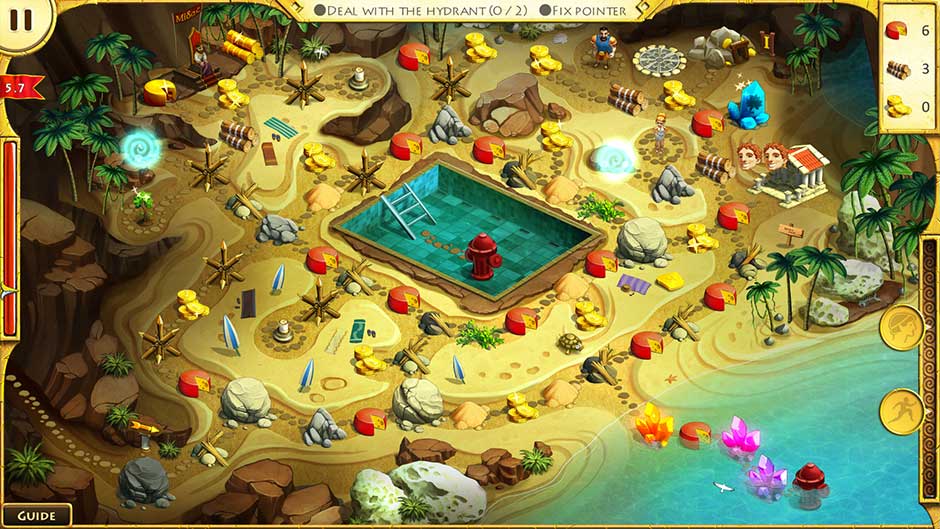
12 Labours of Hercules IV – Mother Nature is a strategic time-management game. You lead Hercules, his wife Megara, their servants, and a host of mythical beings including Medusa and Cerberus on a quest to save the earth from a curse laid out by ancient evils. Bring dead trees back to life, smash hydrants to water the forests, and send ghosts screaming back to the afterlife.
Contents
Gameplay
You play this game by clicking to collect resources, remove obstacles, and upgrade buildings.
Resources
The three resources are food, wood, and gold. All three can be found, gathered, or created in a building. It is usually most efficient to find the resources on the road, but there is rarely enough of any resource available that way. Resources are used to build or upgrade buildings or to remove obstacles.
Food looks like Cheese. It can be found in the road, picked from Fruit Trees, grown on Farms, or gathered as a Ham if there is a lion available. The most efficient way to create food is with a Fruit Tree, but a level-three farm will also produce a good amount in very little time. Food can be traded with the Trojan centurion in exchange for wood, or it can be traded to King Midas in exchange for gold.
Wood looks like logs. It can also be gathered by chopping down dead trees, or created in a Workshop. On most higher levels, you will want to upgrade your Workshop as soon as possible, because wood allows you to build bridges, repair roads, and build or upgrade other buildings. Wood can be traded to King Midas in exchange for gold, or collected from the Trojan in exchange for food.
Gold looks like gold. It is often hard to collect much gold, and there are many levels on which you will need quite a bit. Gold is used to repair some bridges, and it is used to get Medusa to turn minotaurs to stone or Cerberus to chase ghosts back to the underworld. Gold can be collected from King Midas in exchange for food or wood.
Obstacles
There are too many obstacles to list. Most of them are removed by paying either food, wood, or gold, and many of them give an alternate resource in return. There are several special obstacles to outline here:
– Boulders block a section of the roadway. There may be a way to avoid them entirely. Boulders can only be moved by Hercules, and may take a lot of food to get rid of.
– Crystals can be removed by any worker, but cost gold, and sometimes a lot of gold, to be removed. The y come in sizes small and large, and can often be avoided entirely.
– Ghosts can be removed only by Cerberus. They cost gold to remove, but usually not too much.
– Minotaurs can only be removed by Medusa. You will have to find and build Medusa’s Lair before she can be summoned, and it costs gold to get her to come out and turn a minotaur to stone.
Hercules’ Evil Twin appears on some levels. If any worker comes near him, he will shout and scare them back to the storehouse. Only Hercules can defeat him, and only temporarily. He will disappear but return in a few seconds. Keep an eye out for him.
General Gameplay Tips and Tricks
– You can arrange actions ahead of time. Clicking on something gives the command to perform the appropriate action even if everyone is busy. Use this to stay three or four moves ahead.
– Don’t do everything. On most stages, there will be many more resources to collect, ghosts to scare, obelisks to build, and buildings to upgrade than you need. If you want to stay on three-star time, you have to pick and choose only those actions that move you quickly toward your objectives.
– You have helpful buttons on the bottom right side of the screen. Use these for speed boosts, extra helping hands, and occasionally even to stop the clock.
– If you are stuck, waiting for a second or two usually produces and Blue Arrow that will point out what you should do next. It does not always find the most efficient route, but it will help you if you are overlooking something.
– Prioritize resources. If you have plenty of wood, don’t send your workers to gather more. If you are going to need gold, upgrade your Gold Mines as soon as possible.
– Lay down the infrastructure first. Clearing off more roadways does no good if you are constantly running out of resources and having to stop and wait. Build up your resource gathering ability before heading toward the final objectives.
– The timer doesn’t start until you click the first time. Before starting an area, give the stage a good look-over and determine where your early resources will be coming from, what will be the most needed resource, if you are going to need, say, Cerberus’ help, and where anything you might need can be found.
12 Labours of Hercules IV – Mother Nature Walkthrough
Level 1
You first task is to revive three trees. Have you workers collect the food and let Megara revive trees as you go. Hercules can get rid of the boulder that is blocking your path.
Garden by the River
You will need wood and gold and food for this part. Have your workers collect supplies and fix the roads as needed. Megara can revive Fruit Trees, which can then be harvested by your workers. Build a Workshop as soon as you can. After your workers repair the crack in the road, Hercules can clear the boulder blocking the bridge. The bridge is repaired in three parts, and clears the way for Megara to revive the trees and finish the area.
Burning Wind
Megara is not in this section. Use the Work Faster button liberally to get top marks. You will have to build farms. Start collecting food and clearing roads to access more resources. Build a Farm as soon as possible near the storehouse. Build a Workshop right after. You can build another farm and another workshop. Hercules can open the Ancient Hydrant and revive the area. Move the boulder to move on.
Trapped
You have to fix the Sign and release the Prisoner in this area. Start by collecting food to clear the way to the small farm and then fix the road to free Hercules, who can then destroy the boulders to open the rest of the area. Go South, then East, then North to access resources most efficiently. Don’t worry to much about the Fruit Tree as you can build several Farms. Use the Gold Mine to save enough gold to remove on of the crystals blocking the path. You only need to remove one.
Gold Rush
Use the More Resources button liberally for top marks. Revive the Fruit Tree beside the storehouse as soon as possible. Go southwest first, and build the Workshop. Upgrade the Workshop as soon as possible to help build Gold Mines faster. The Gold Mines are in the bottom right and the top left corners. The Gold at the top of the screen is misleading, you will spend more gold to get to it than you will get as a reward. Don’t worry about it. Hercules smashes the Hydrant and you’re on your way!
Green Pasture
Free Megara and revive the Fruit Tree as soon as possible. Move along the south road and build a Farm early on, then go north and build the Workshop. Have Hercules destroy the boulder in the top right, and then the two boulder along the north road. You will need the gold from the top of the screen. Hercules destroys the Hydrant, the worker removes the stone blocking the road, and you’re done!
Three Boulders
Go west to open up two Workshops, but don’t worry about the Gold Mine. When the route is clear for the workers, have Megara revive the Fruit Tree. Build Farms and upgrade them as soon as possible. Collect gold on the way to the Sign and you will have more than enough. Hercules repairs the Sign and opens the Hydrant, and you’re done.
Water Mill
Clear the path east and build a Farm as soon as possible. Then build the Outpost. Clear the southwest bridge first and colelct resources while clearing the path to the Prisoner. Build the Workshop near the Hydrant and upgrade it. Build the second Farm near the Outpost and upgrade both farms. Clear the way and have Megara revive the Fruit Tree at the bottom left. Collect as much food as possible so that Hercules can clear the Boulders, open the Hydrants, and fix the Sign.
The Big Clean-Up
First clear the way and revive the Fruit Tree near the storehouse. Clear the Oil and access the Workshoop. Head north to collect the gold on the hill. Repair Hermes’ Obelisks as soon as possible to make your workers faster. The hardship is that wood is produced slowly and you will need a lot of it. Use the More Resources button liberally for top marks. Mine the Gold Mine the top of the screen and pass the level by collecting plenty of each resource.
Viaduct
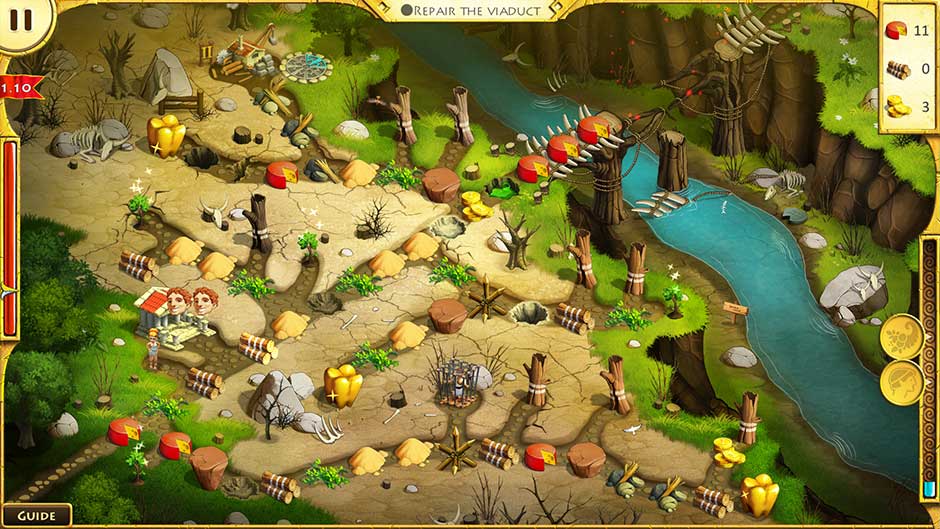
Clear the way south to collect food and revive the Fruit Tree, then north for two more Fruit Trees. Continue on the south road to free the Prisoner. You need 50 food to collect the big gold nuggets, so make sure to keep one worker collecting from the Fruit Trees constantly. Access the Workshop and start collecting wood. Start work on the Viaduct as soon as you have laid out the proper infrastructure outlined above. It will take all available resources to finish the Viaduct.
Level 2
Entering the Forest
Clear your way to the logs in the center to gather wood, and clear your way to the Fruit Tree to gather food. Wood is hard to come by and should be your first priority. Build the Farm to get a steady food supply. Clear your way to the Workshop in the upper right corner. Build the Gold Mine at the bottom of the screen, and clear your way to all the gold resources available. Fix the Obelisk as soon as possible to increase production. Use the More Resources button liberally for top marks.
Haunted Meadow
Clear your way to the Farms in the bottom left and upper right corners. Don’t worry about the ghosts at this point. Clear the way to the Workshop. Hercules’ evil twin will come and stand in the center, but Hercules can scare him off. Upgrade your Farms to make food faster. When you’ve gathered enough gold, the dog will frighten the ghosts away, and you can take the resources they protect. Clear your way to the Obelisk in the upper right corner to repair the bridge.
On the Beach
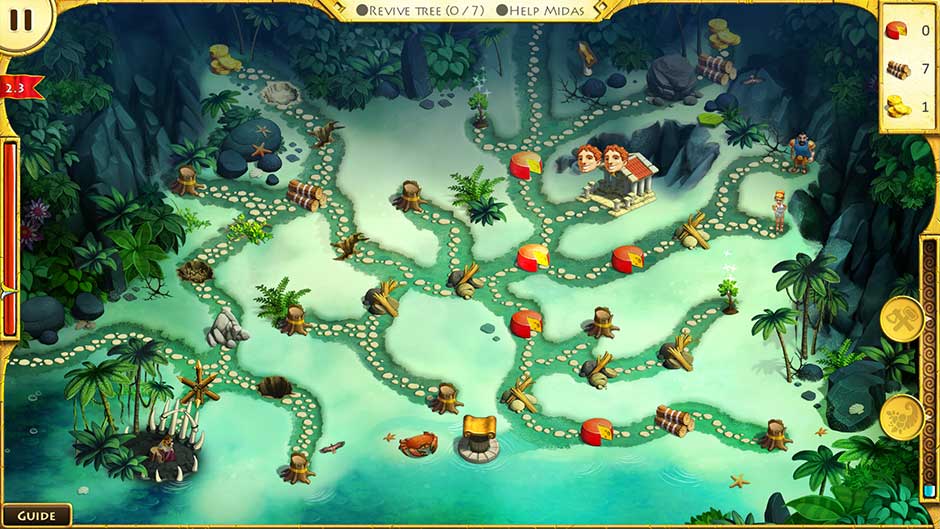
Clear the way to Megara and Hercules. Revive the nearby Fruit Tree. Clear the way for Megara to revive the Dried Up Trees. You will need all available gold. Hercules can free King Midas.
Antihero
Revive the Fruit Tree near the storehouse and head south. Build the Farm and then continue west to build the Workshop. Upgrade the Workshop as soon as possible, and break the builder so you can build the Gold Mine. Hercules can beat up his evil twin, but it costs food. Upgrade the Farm to keep a steady food supply. Gather the Midas Wood and then repair the Sign to continue!
Three Loops
Gather the nearby food and then continue to clear the roads north and south. Find your way to Hercules as soon as possible. Once he is free, go east to free Megara. There is a Gold Mine and an Outpost in the center that will be especially helpful. Send Megara to revive the Fruit Tree near Hercules, and the one south of the storehouse.. The Evil Twin will show up, and needs to be frightened away. Use the Stop Clock button liberally for top marks. Avoid breaking the crystals.
Crossing the Bridge
Revive the Fruit Tree. Head west across the log to reach the Gold Mines. Have Hercules dismiss the Evil Twin promptly. Go across the bridge to the southwest to access and upgrade the Workshop as soon as possible. Clear the way east to access and upgrade the other Workshop, and don’t forget the Fruit Tree nearby. Use the More Resources button for top marks.
Three Bridges
Clear the way west to the Workshop and then south to the Dried Up Tree and the Fruit Tree. Upgrade the Workshop as soon as possible, twice. Clear the way to the Fruit Tree at the bottom of the screen, and be sure to gather the Midas food and Midas wood. Clear the way to the Obelisk for a speed boost.
Cross the Bog
Break the ice around the Fruit Tree first. Build the Workshop near the storehouse as soon as possible, and then the Farm nearby. Upgrade those two buildings quickly. Go farther east ot harvest gold so that you can clear away the stakes. Build the Gold Mine and upgrade it. If you take too long to collect from your buildings, thieves will steal your resources.
Temple by the Sea
Revive the Fruit Tree to the west of the storehouse, then clear the way to the next Fruit Tree. Have Megara revive Dried Up Trees on the way. Hercules has to clear the boulder before your workers can clear the rubble blocking the minotaur. You have to build Medusa’s Lair before you can get rid of the minotaurs. The shark will disappear when Hercules opens the Hydrant behind the minotaur.
Level 3
Curls
Upgrade your Home as soon as possible! You want more workers for this area. Upgrade your Workshops too. You have a Work Faster button, a More Resources button, and a Run Fast button in this area. Be sure to utilize all three for top marks! Hercules must destroy the Hydrant to open up the Gold Mines at the bottom of the screen and the boatman who can collect the floating wood. It will take a lot of gold and food to get to the pillar that opens the drawbridge, and this is a long level, so don’t worry too much if it seems like it is taking more time than usual.
Submerged
Start heading south to free Hercules and Megara. Revive the Fruit Tree near the storehouse, and build the Workshop in the upper left corner. You’ll need plenty of wood, so it’s a good idea to upgrade that Workshop. Build the Farm near the storehouse, and repair Demetrius’ Obelisk at the top of the screen. Build and upgrade the second Workshop. Use the Stop Clock button liberally for top marks.
Roundabouts
You need to clear out the minotaurs before you can get much else done. You can reach the Farm on the east side of the screen, and luckily your workers can travel through the tunnel into the center where most of the resources are, and around to the top of the screen to build Medusa’s Lair. Build the Lair and then collect gold from the Gold Mine or other sources until you can pay Medusa to destroy the minotaurs. After that, this is a straightforward are that doesn’t even require upgrading any buildings.
Greeks Bearing Gifts
Build the Workshops as soon as possible. Start with the one northeast of the storehouse. Also be sure to revive the Fruit Tree by the storehouse early in the level. Upgrade your Workshops and build everything you can build. There is no way to earn food except by the Fruit Tree or by exchanging wood for food via the centurion.
Fork
Don’t forget about the boatman who can help you gather wood quickly. There is a Gold Mine near the storehouse, and you will need to make good use of it constantly. When you can build the Workshop, do so and upgrade it immediately! The same goes for the Gold Mine on the far right of the screen. Make liberal use of the More Resources button for top marks. You will probably face some times when there is nothing you can do but wait: use those times to plan.
Catapults
Revive the Dried Up Tree in the top left corner to open a path for your workers. Build the Farm in the center and the Workshops. Use the Catapult in the top right corner, which appears after activating the pillar at the top of the screen, to smash the Upper Tower in the center. Activate the bottom pillar for another Catapult, and destroy the Lower Tower, then build the Gold Mine. The only building you need to upgrade is the Gold Mine. Clear the path to Medusa’s Lair and then clear the minotaur from the road.
Morning in the Forest
Gather as much wood as you can, and use it to build and upgrade first the Workshop, then three Gold Mines, then the other Workshop. Don’t bother with the Farm, the two Fruit Trees will provide all the food you’ll need.
Collaboration
Break boulders as soon as possible, upgrade your Gold Mines, and make good use of the boatman. Use the Stop Clock and More Resources buttons liberally for top marks.
Trustworthy
Upgrade all available buildings to speed things up, and use Hermes’ Obelisk to speed it up even more. Make especially good use of buildings near the storehouse. Activate all three pillars and build the bridge in the bottom center to continue.
Volcano
Collect wood to repair the bridge by the storehouse and access the Gold Mine. Use Demeter’s Obelisk to speed things up. The pillar in the center opens the path to two Fruit Trees that will be your renewable source of food. Upgrade the Workshop and the Gold Mine to level three.
Level 4
Giant Snail
Make good use of the Farm and the Workshop near the storehouse. Upgrade them both as soon as possible. Clear a path to the Gold Mine near the giant snail. Upgrade the Gold Mine to level three. Build the Outpost and the Farm in the bottom right. Clear away the crystals and have Hercules break open the Hydrants.
This Gold of Mine
Don’t worry about the level three Workshop in the bottom left. Upgrade the buildings you have. Use the Fruit Tree in the top right as your renewable food source. When your first Workshop and one of your Gold Mines are level three, then go for the big Workshop on the island.
Bubbles
First off, do not be intimidated by the sheer number of oil spills and prisoners in this area. Build and upgrade the Workshop east of the storehouse to level three as soon as possible. Use Fruit Trees as your food-source. Build and upgrade the other Workshops as quickly as you can. Build all Outposts to greatly reduce running time. There will be no down-time in this area, but don’t worry about the Obelisks. You do not need them.
Which Way
Don’t worry about the level-three buildings in the forest. Upgrade the Farm and Workshop near the storehouse. Continue to clear the path as usual until the high-level Workshop and Farm are reached naturally. Upgrade the Gold Mine to level three. Use the Stop Clock button liberally for top marks.
High Steaks
Go northeast for the Fruit Tree and the Gold Mine first, then west to the Workshop. Upgrade the Workshop before the Gold Mine. Expand over the middle bridge first to free the Prisoner, then the top bridge to clear the oil spill, and then the bottom bridge last. Use Hermes’ Obelisk, in the bottom right, to speed everything up. The centurion will exchange wood for food.
Warp
The warps transport your workers to other parts of the area. Make a note of where they are and which portal leads where before starting the level. Other than that, this one is entirely straightforward. Upgrade the Workshop and Farm to level three, but the Gold Mine does fine at level two. Use Hermes’ Obelisk to speed things up.
Summoning
Use the Fruit Trees for food. Upgrade the Home as soon as possible. Use Demeter’s Obelisk, Hephaestus’ Obelisk, and Hermes’ Obelisk.
Ghost/Sheep
Upgrade the Workshop as soon as possible and repair the bridge to free Megara. Build the Outpost in the top right to gather resources in the area quickly, and upgrade the Workshop to level three. Use the Catapult to free the cyclops, who will steal the sheep, and use the dog to scare away ghosts.
Pearls
Upgrade your Workshop to level three before going after the level three Gold Mine. Upgrade the other Gold Mine to level three as well. Use the Obelisks to speed things up. Use the Run Faster button liberally for top marks.
Secret Mirror
Watch out for the Evil Twin! Upgrade all buildings. This is a very long level, but does not include anything you haven’t faced before.
Level 5
Go Dive
Outposts look like tents now, but nothing else has changed. The portals are your friends. Keep them in mind when sending your workers off. The closest resource might be through a portal. Upgrade your Farm and Workshop to level two.
Hive
Build a Workshop early on to get wood to build and upgrade a Farm as soon as possible. Make use of every food-course you can find! Keep an eye out for thieves and that Evil Twin.
Skilled Tactician
You will need to use the centurion and King Midas in this area. Upgrade your Workshop to level three as quickly as possible, and trade everything you can spare to King Midas. You will need a ton of gold to get through the crystals and leave the area.
Make a Plan
You will need plenty of wood to build all the bridges. Make heavy use of the boatman, who can use the portal access more resources. Upgrade your Workshop and Farm early on. There may be times when all you can do is wait: use those times to plan. Don’t worry about Hephaestus’ Obelisk. You do not need it.
Twisted Road
There is only one path you can take. Upgrade your buildings, collect everything, repair the Obelisks and use the Stop Clock button liberally for top marks.
Lighthouse
Head east quickly to free the cyclops so he can help with the sheep. Use Fruit Trees for food, Gold Mines for gold, and upgrade the Workshop for wood. Do not forget about the boatman.
Pool Party
There is a Fruit Tree on the far side of the portal. Upgrade your Home and Gold Mine as early as possible. Use the portal and avoid going around the outskirts to save time. Trade with King Midas to gain gold quickly.
Fair
Get to the Fruit Tree and upgrade the Farm as soon as possible. The only way to get gold is to trade with King Midas. This one is interesting but fairly straightforward apart from the use of King Midas.
Green Hill
You have to free Cerberus so that he can scare away the ghost before you can get to the middle Evil Boulder. Use the portals to reach the bottom road. Do not worry about the Hams, or the Obelisks. Just upgrade your buildings, free Hercules, and smash those Evil Boulders.
Hatching the Egg
There is no trick to this one. Upgrade your buildings, prioritize your resources, and plan three moves ahead.
Congratulations! You’ve just made it through 50 stages of 12 Labours of Hercules IV – Mother Nature. If there happen to be more stages than this, you can conquer them without fear, and if you get stuck you can find some helpful suggestions in the General Tips and Tricks section of this walkthrough.
Delicious – Emily’s Hopes and Fears Walkthrough
Big City Adventure – Shanghai Walkthrough
Building the Great Wall of China 2 Walkthrough
This Bubble Shooter Walkthrough is meant as a guide and does not contain cheats, hacks, or serials.
The post 12 Labours of Hercules IV – Mother Nature Walkthrough appeared first on GameHouse.

